Automating my gate door
It's been almost four years since I moved to my current house. I bought the land myself and built the house from scratch, so I had a lot of control over it. For example, I ensured every light, gate, blind, etc., had a manual switch. We rarely use an RF remote to open or close things.
Except for one thing: our gate door.
It's a sliding gate system that can carry heavy-duty doors in two ways. The motor and system are from a company called BFT, which is a very common brand here in Turkey for this kind of residential application. The gate has no physical switches, as they wouldn't be very useful. The gate door is used when I want to park my car in my garage; hence, I need to be able to open it remotely.
Problems using an RF Remote
But I have several problems with the remote:
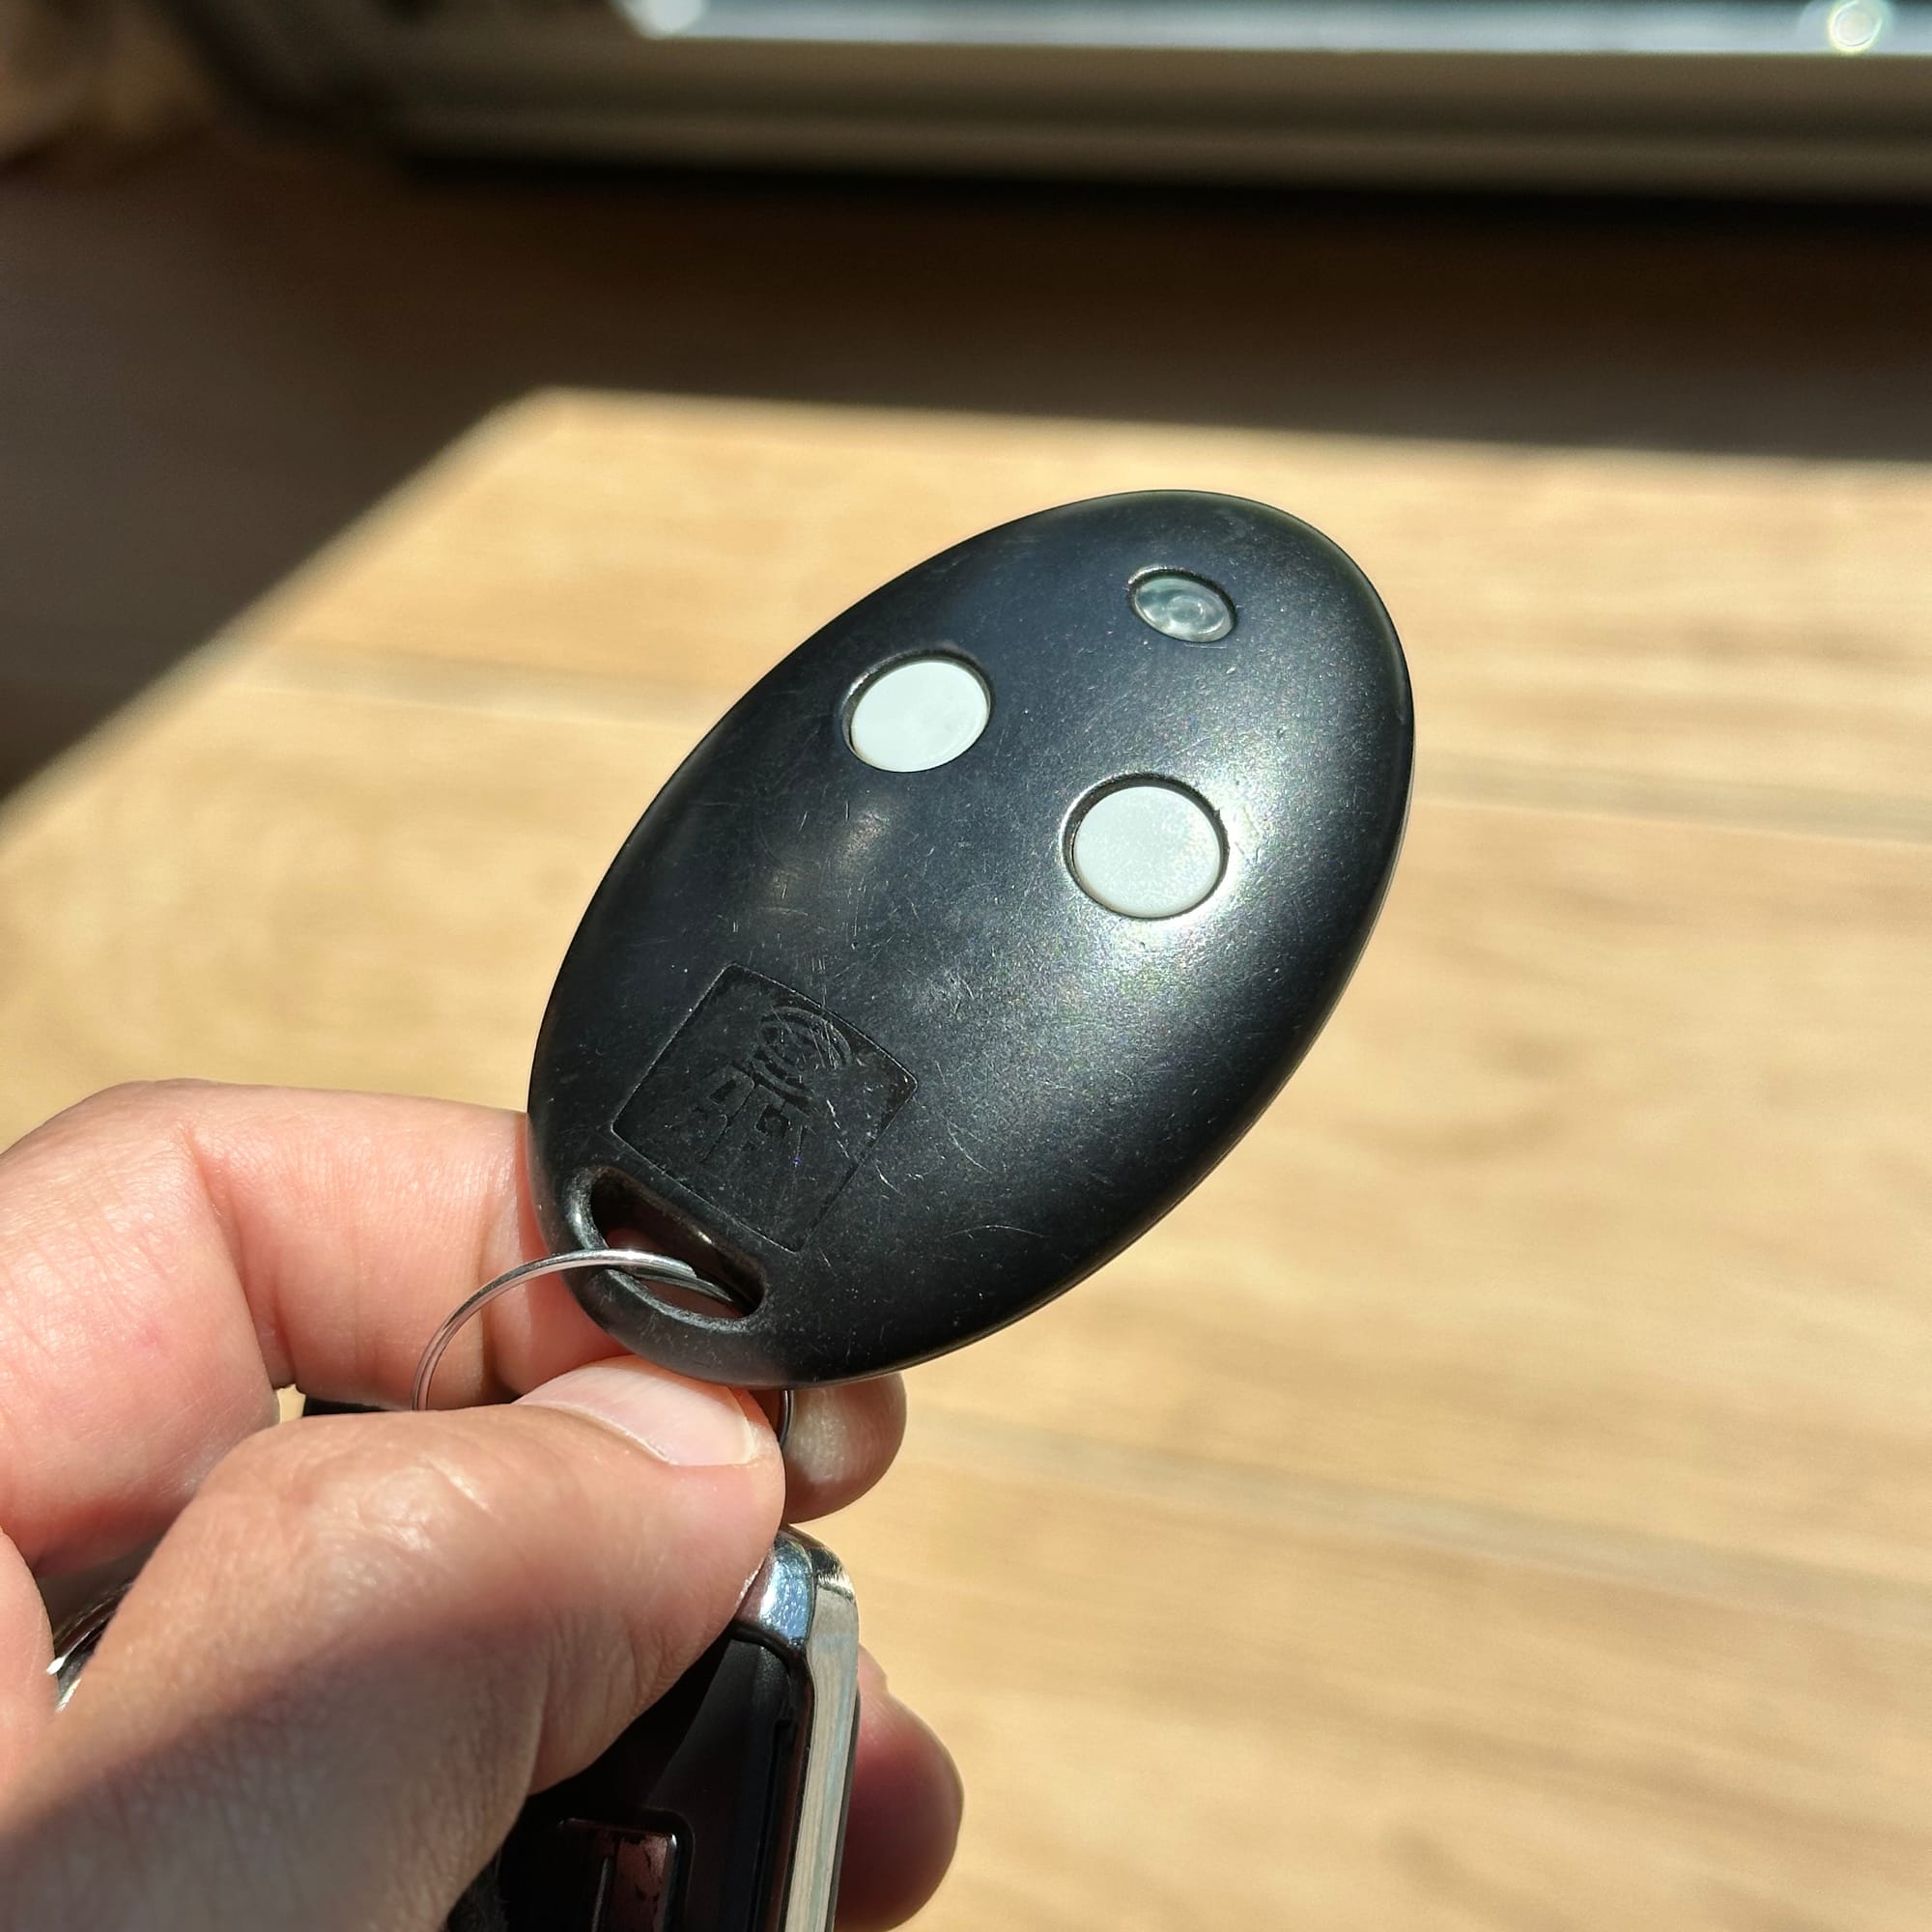
- The remote is clunky and big
- The remote is usually inside my car, hence I can't open it when I'm inside the home.
- I want to plug this into my home assistant setup to automate it easily via my iPhone. For example, I could remotely open the gate via my phone or CarPlay or make sure to understand whether the gate is opened or closed.
The RF remote works over 433 MHz with rolling codes. When you hear an RF remote, the first solution that comes to mind is to buy a universal IF/RF hub that replicates the remote codes and can be integrated into HomeKit or HomeAssistant.
One such product is the BroadLink RM4 pro . There are many similar products, but the way they work is that you keep your existing remote next to it, and after a few instructions, the hub is able to send and receive the same codes the RF sends. The hub needs to be within proximity of the application you want to control (in my case, it's the gate opener).
There is one issue, though: these products don't work well with remotes that use rolling codes. You might ask, what are rolling codes?
Rolling code means to "roll" the code, which means generating a new code every time the remote control is used to open the gate opener. When you click the remote button, a unique code is created, and only the gate receiver can decrypt the code. It's also called asymmetric encryption and, for some people, public key encryption. It's pretty good and safe, so it's hard for intruders to copy the RF while you're entering your home.
Using a smart relay
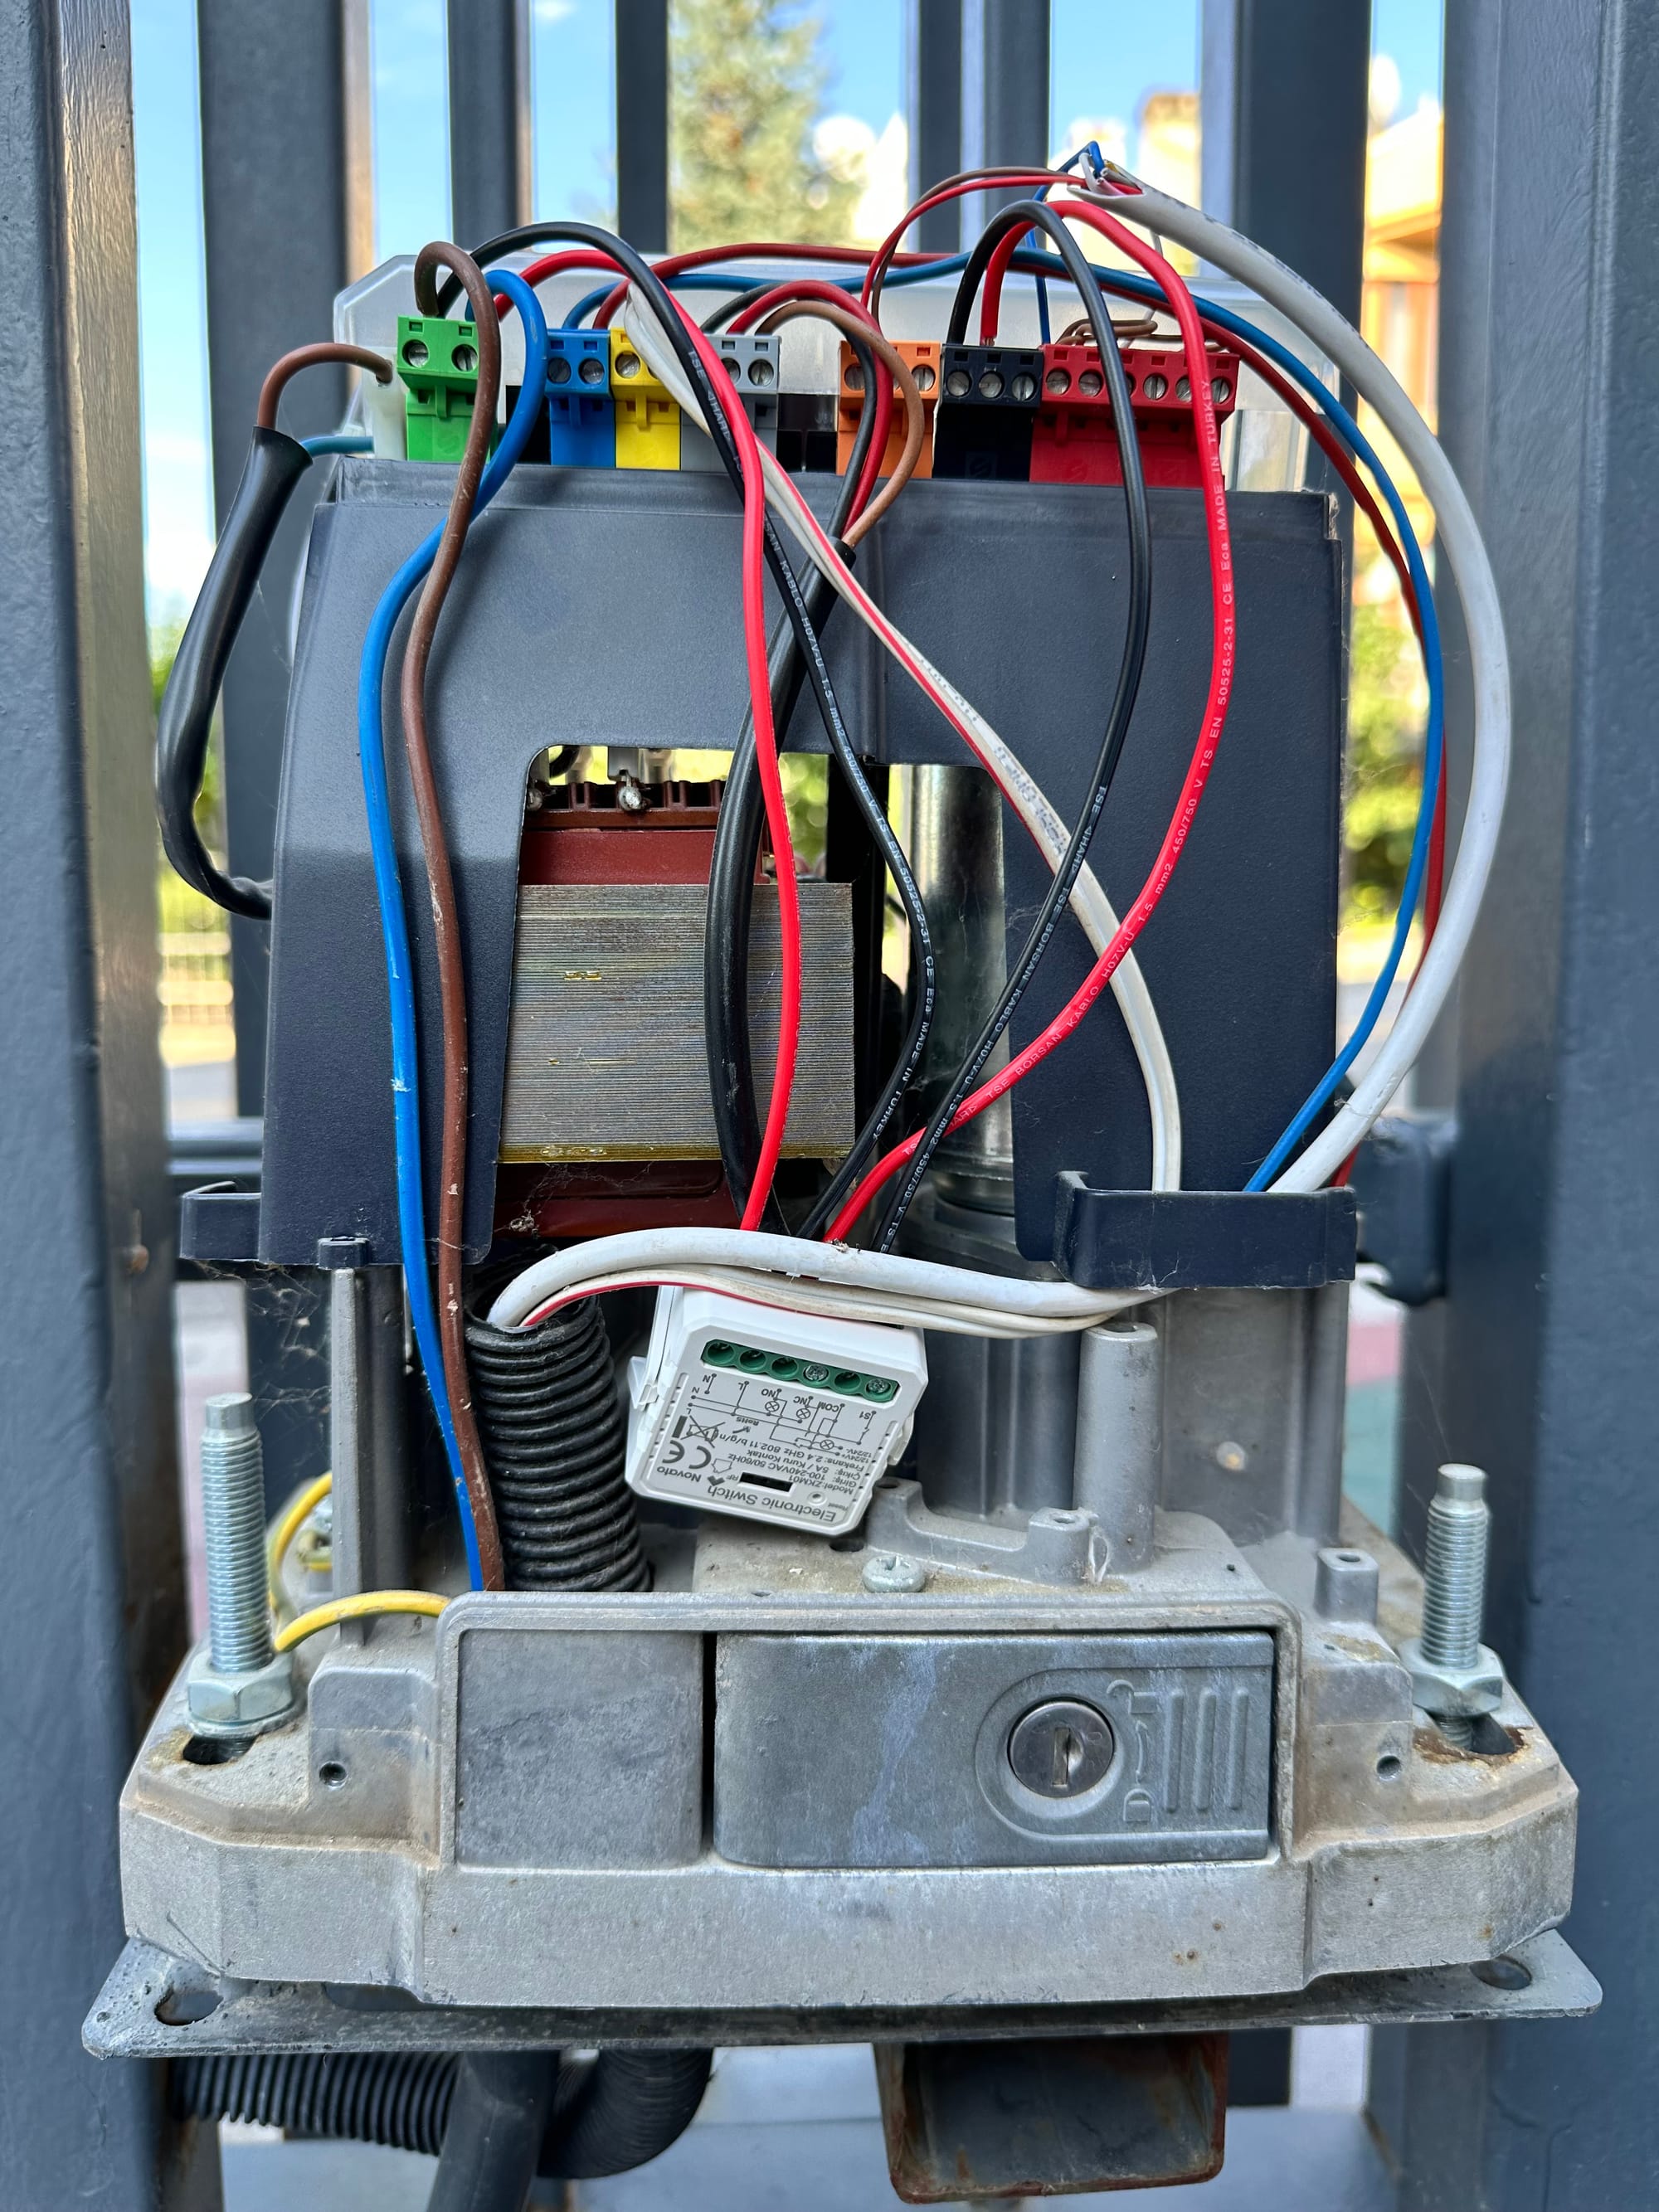
So, replicating the RF remote was out of the question. I had to look for something else, and somehow, I stumbled across a picture of the interior of the motor case. There, I could see that the BFT motor had plenty of I/O options to interfere with the gate directly. I immediately went outside and opened the case.
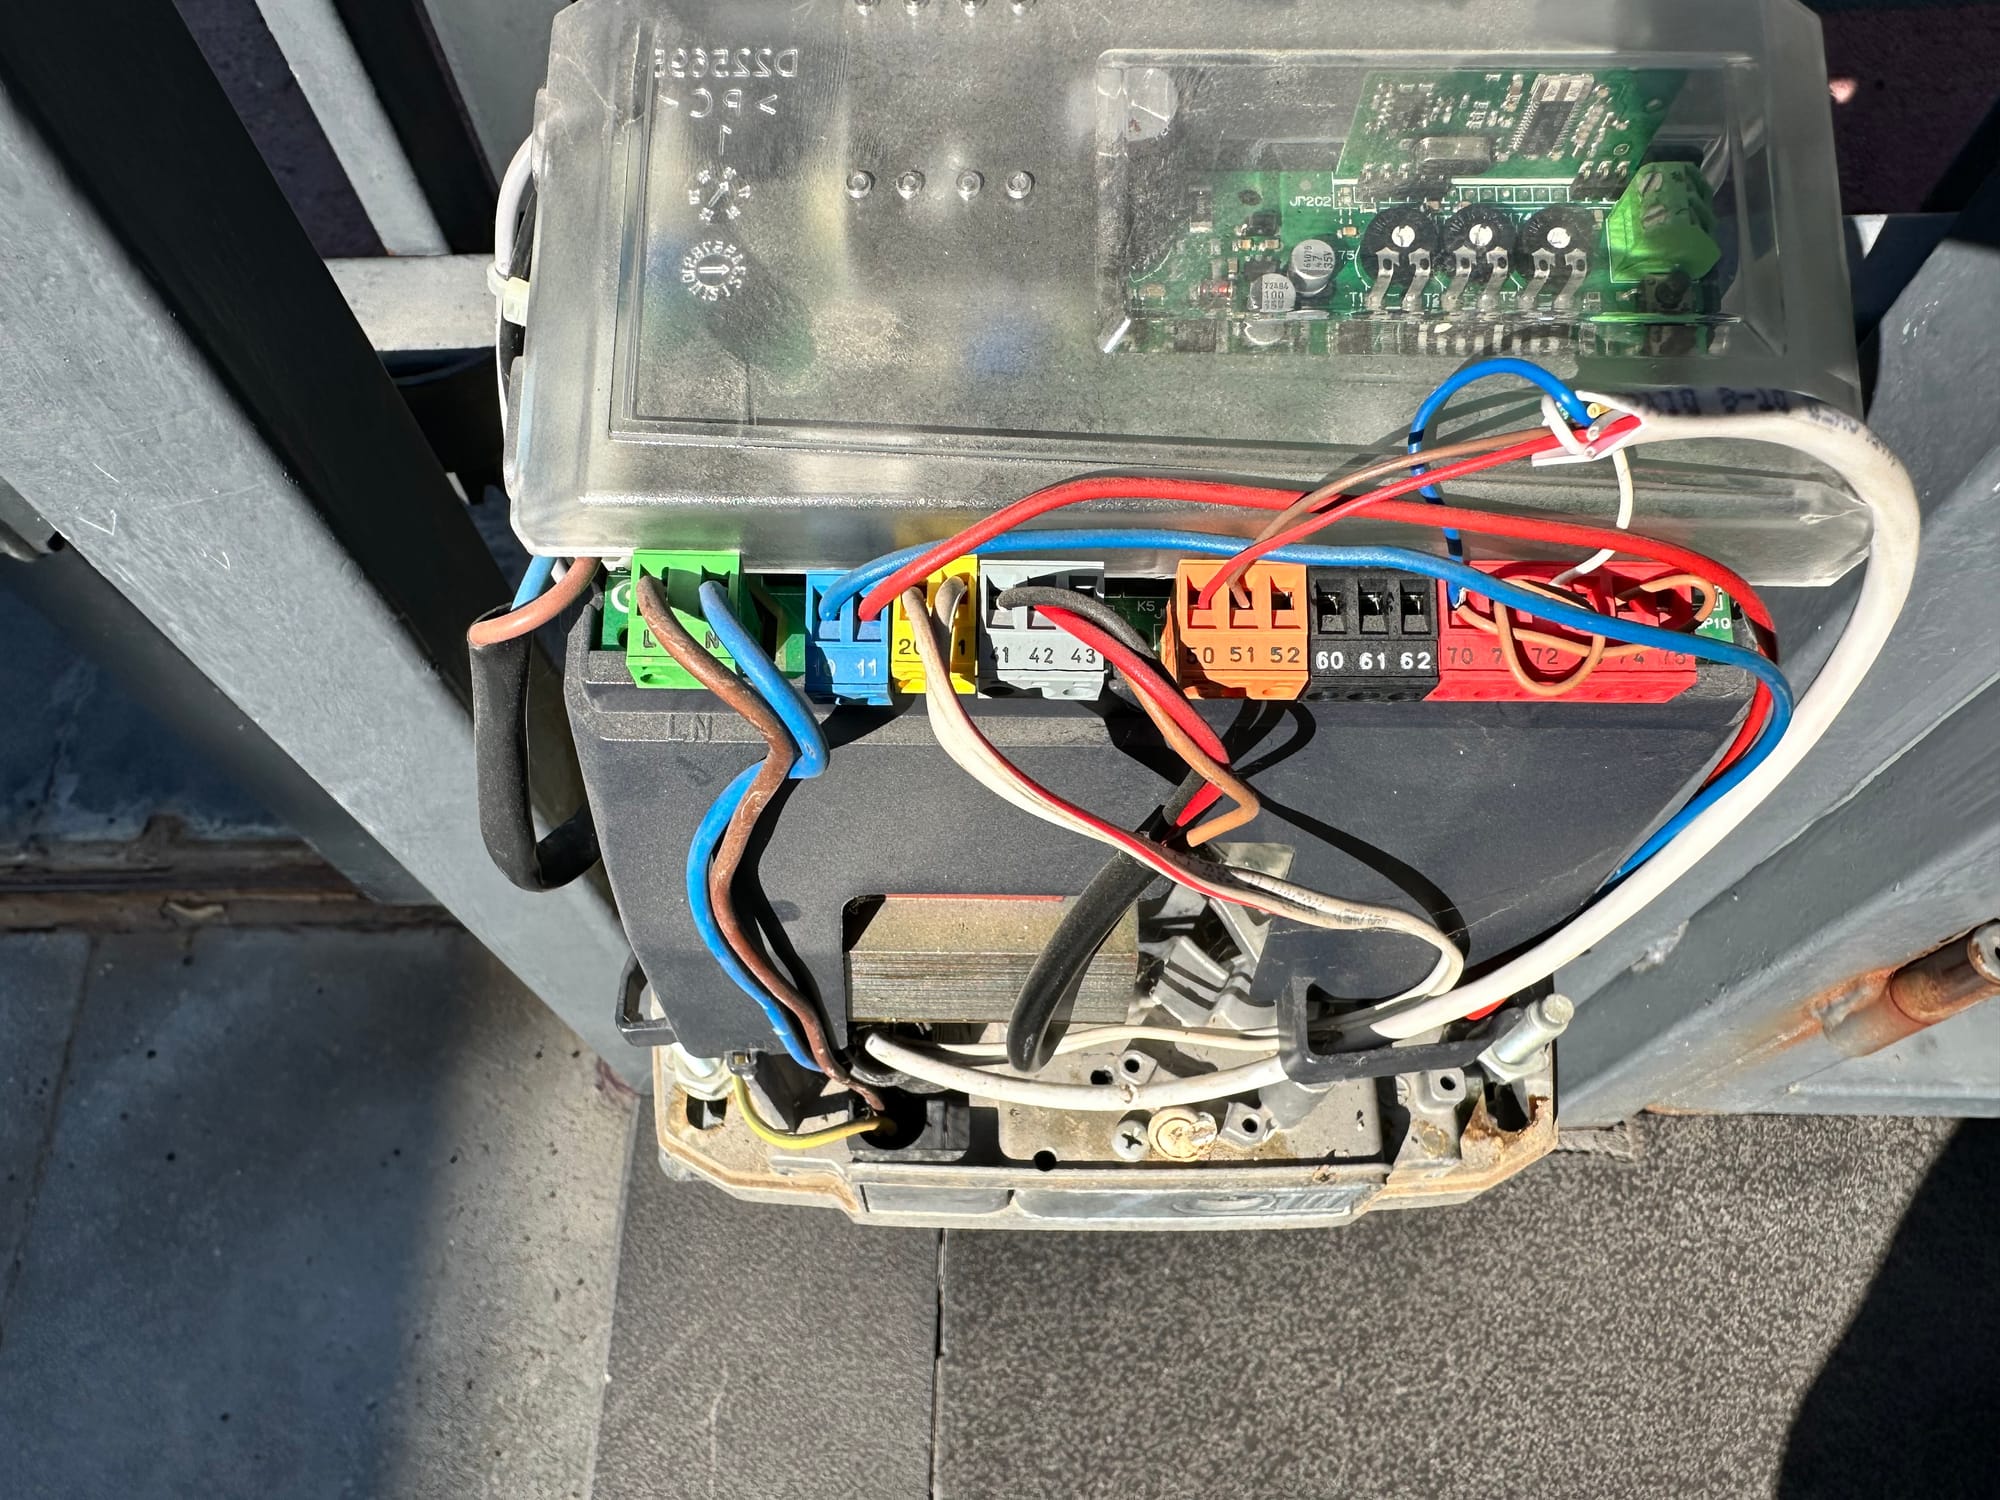
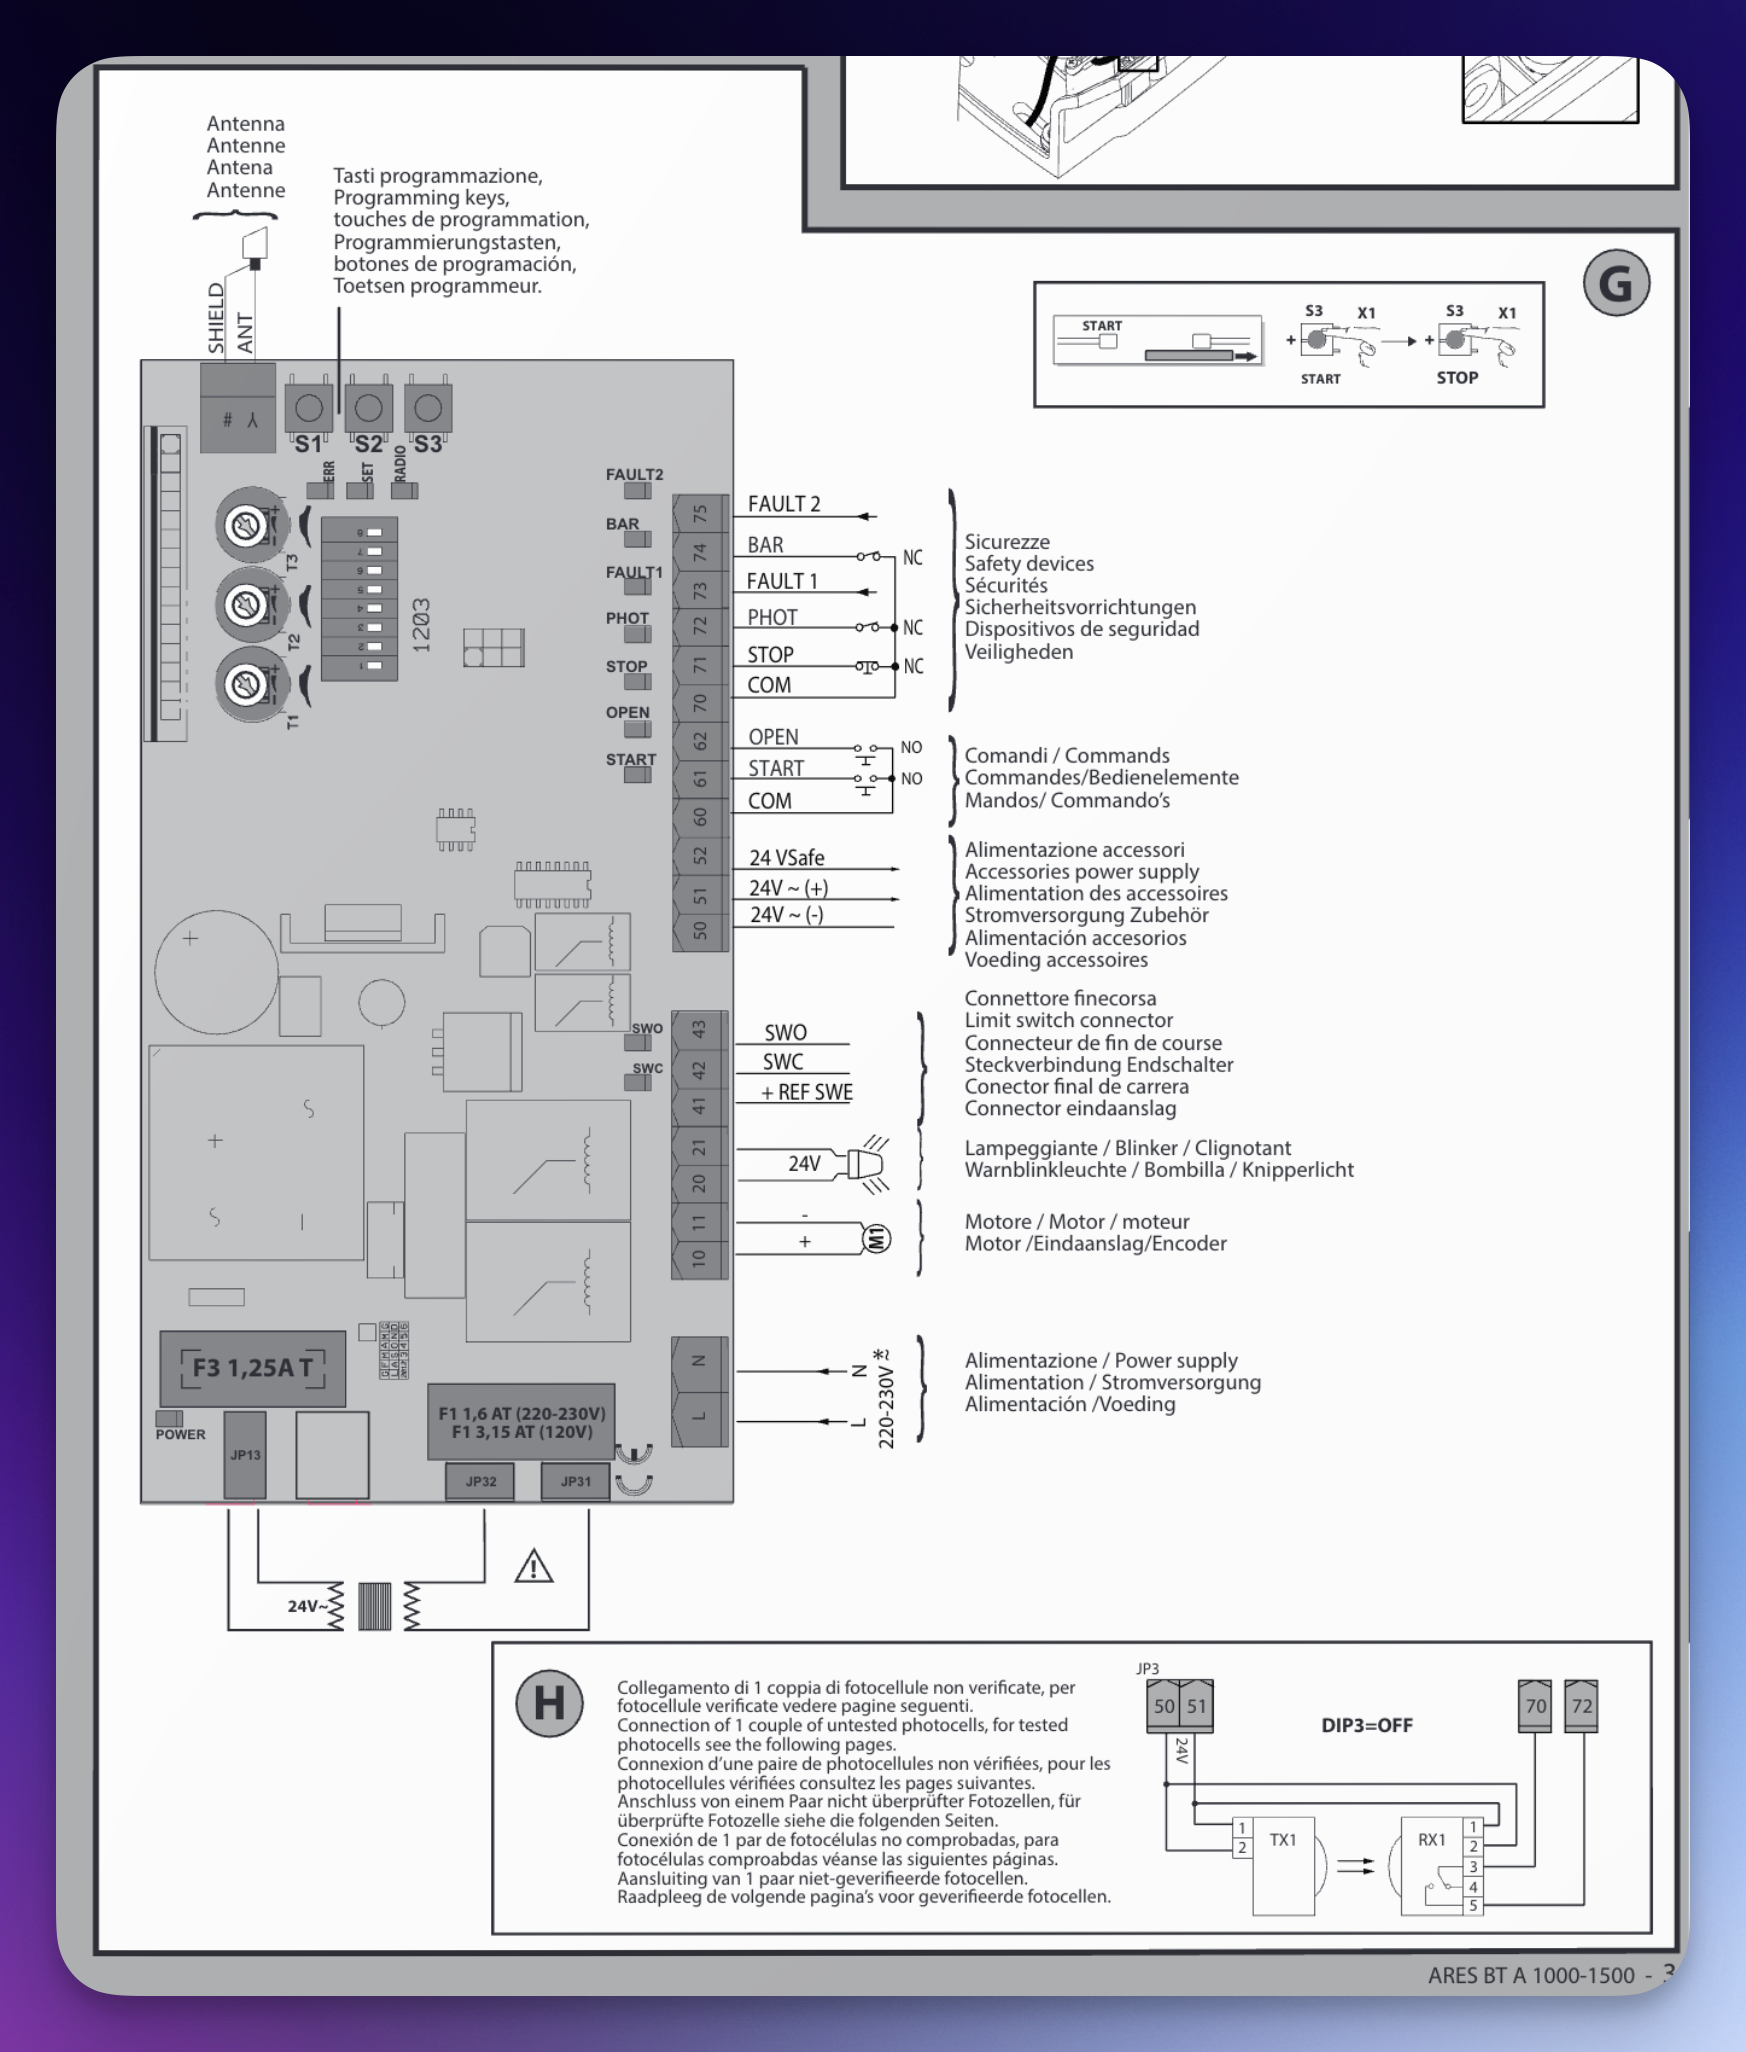
The BFT Motor I had at home used a HAMAL ARES control board, and the manual had plenty of information. The most essential ports were the 60/61 ports and the L/N (220V power supply). If the gate was short-circuited via the 60/61 ports, it would open (if closed) or close (if closed) the gate.
I had to test it out, so I cut a 2.5mm cable and tried it out, and voila it indeed worked out:
Now that we have verified that we can open the gate via these ports, the next step is to enable it remotely. This is where smart relays come into action. Relays are circuits with WiFi/Zigbee/Matter, etc.. capabilities. There are many circuit types, for our gate all we need is a "dry-contact relay". We need a way to close a switch or open a switch without applying any energy to the contacts:
A dry contact functions as a standard switch that controls a circuit’s connectivity. It allows current to flow when closed and stops it when open.
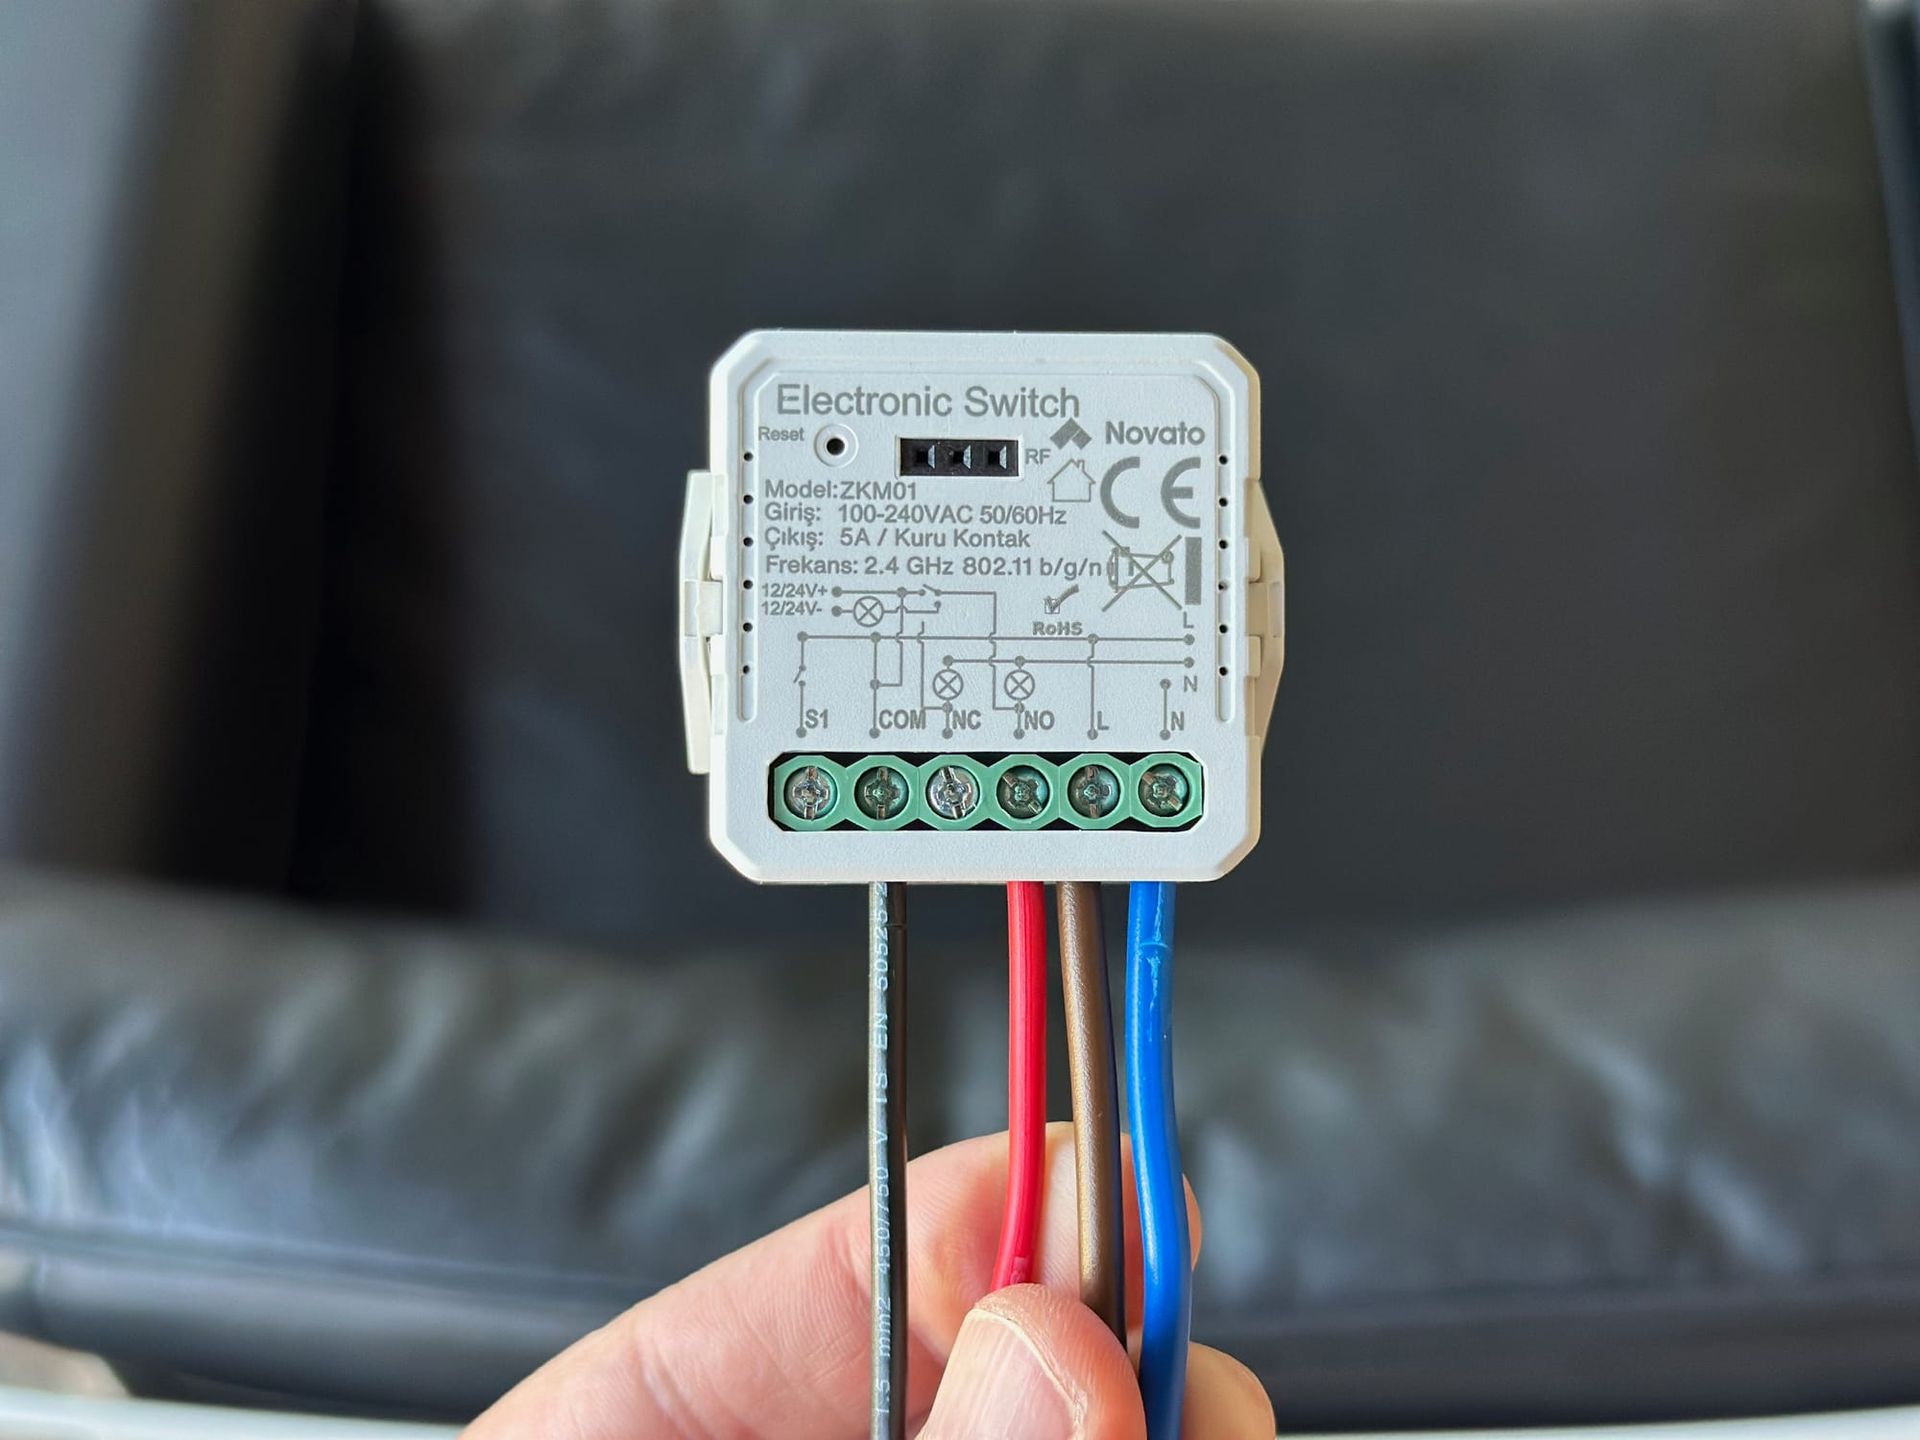
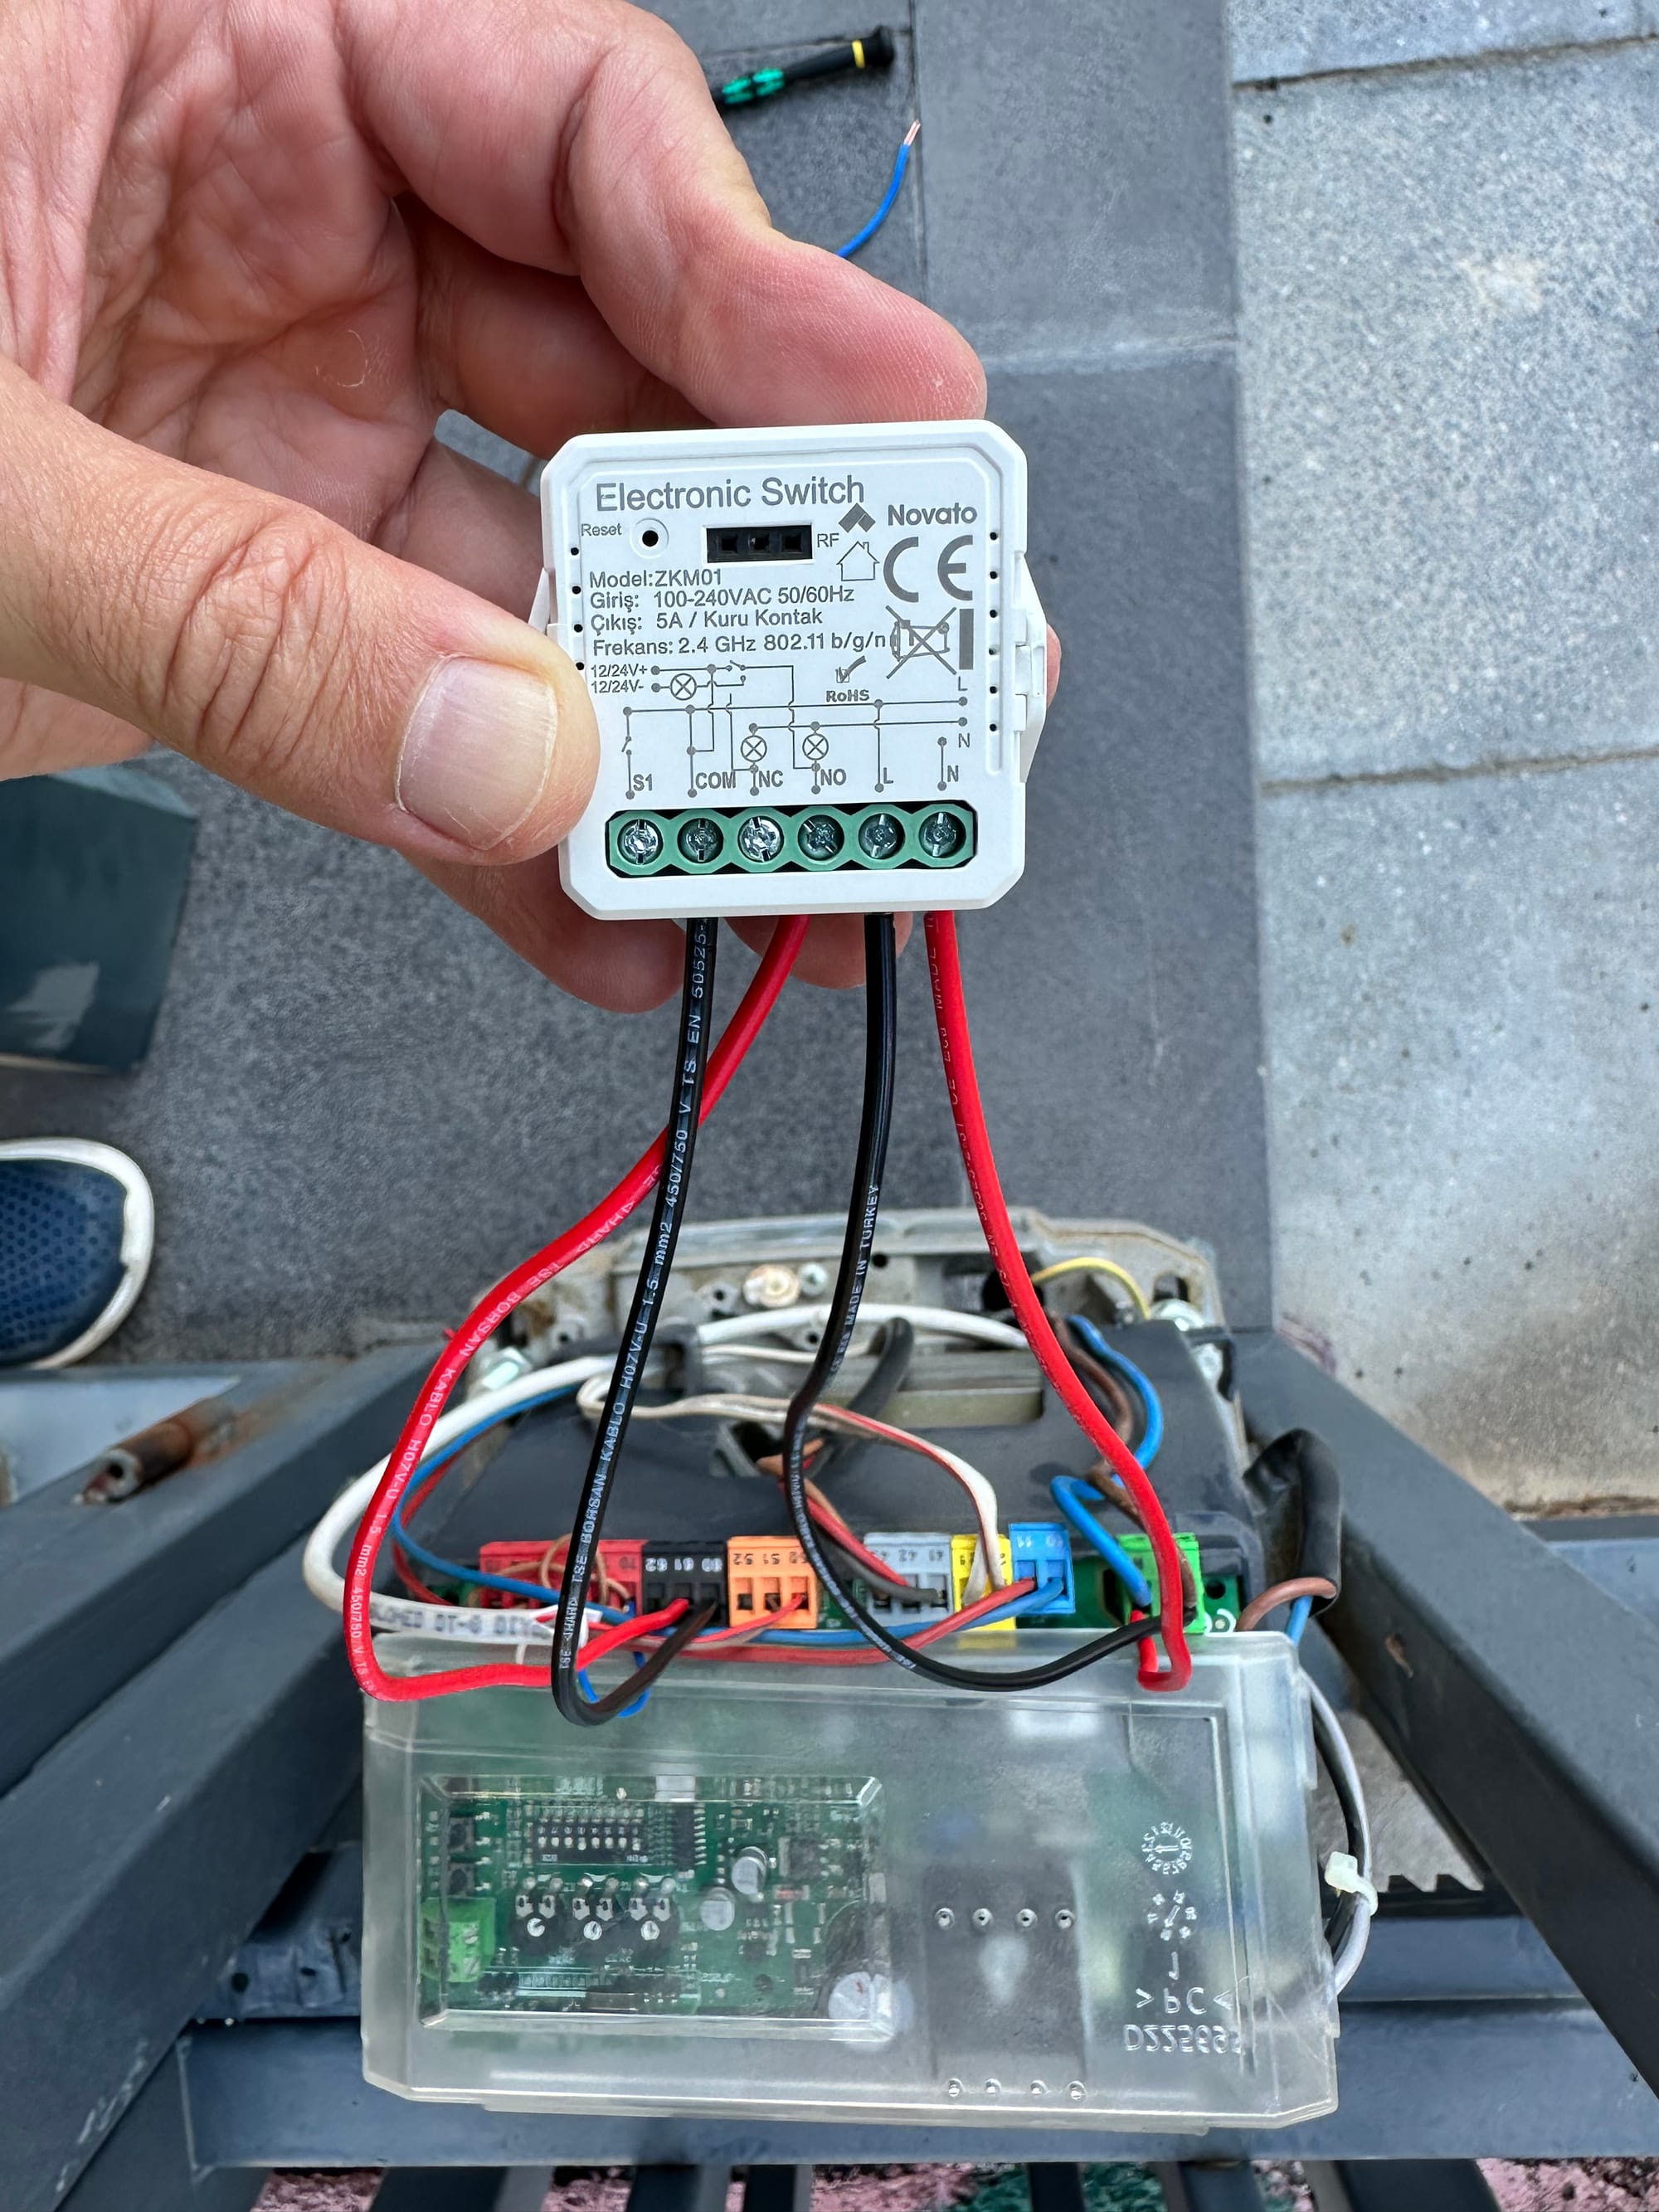
So hence I bought a "Zigbee Dry Contact Relay". I also have several WiFi Dry Contact relays, but I recently purchased a Home Assistant Green with Zigbee hub (SkyConnect), so I decided to go with Zigbee, but you can use whatever you want. There are many brands, but I bought one from a Chinese no-name company. However, a friend suggested I get the Aqara T2 Dual Relay, so I ordered it and will replace it, but I went with this one for now.

Of course, the relay itself still needs power to control the switch. There are many ways of powering relays, but the one I bought had a 220V Line input (and 24v DC), and the Hamal Board's first two ports provided me with 220V, so all I had to do was plug the main board's power output into the relay's power input. Next, the Relay had several other outputs; for us, the most important is the COM and NO inputs.

The goal is to trigger a short circuit but have it disabled by default. Hence, we need to make sure that COM and NO are used. NO means "Normally Open," meaning COM and NO wired together are open by default. But if we turn on the relay, COM and NO are closed, short-circuiting the 60/61 ports and triggering the gate to open.
HomeAssistant and HomeKit integration
After the initial setup, the following steps are to register the Device to our Zigbee hub, expose the relay as a device in HomeAssistant, and, from there, connect it to HomeKit (which is done automatically; more on this later).
First, after adding the relay to the Zigbee hub, I discovered it was added as a light entity in Home Assistant. This means it would look like you switched a bulb when you enabled the switch via COM/NO ports.
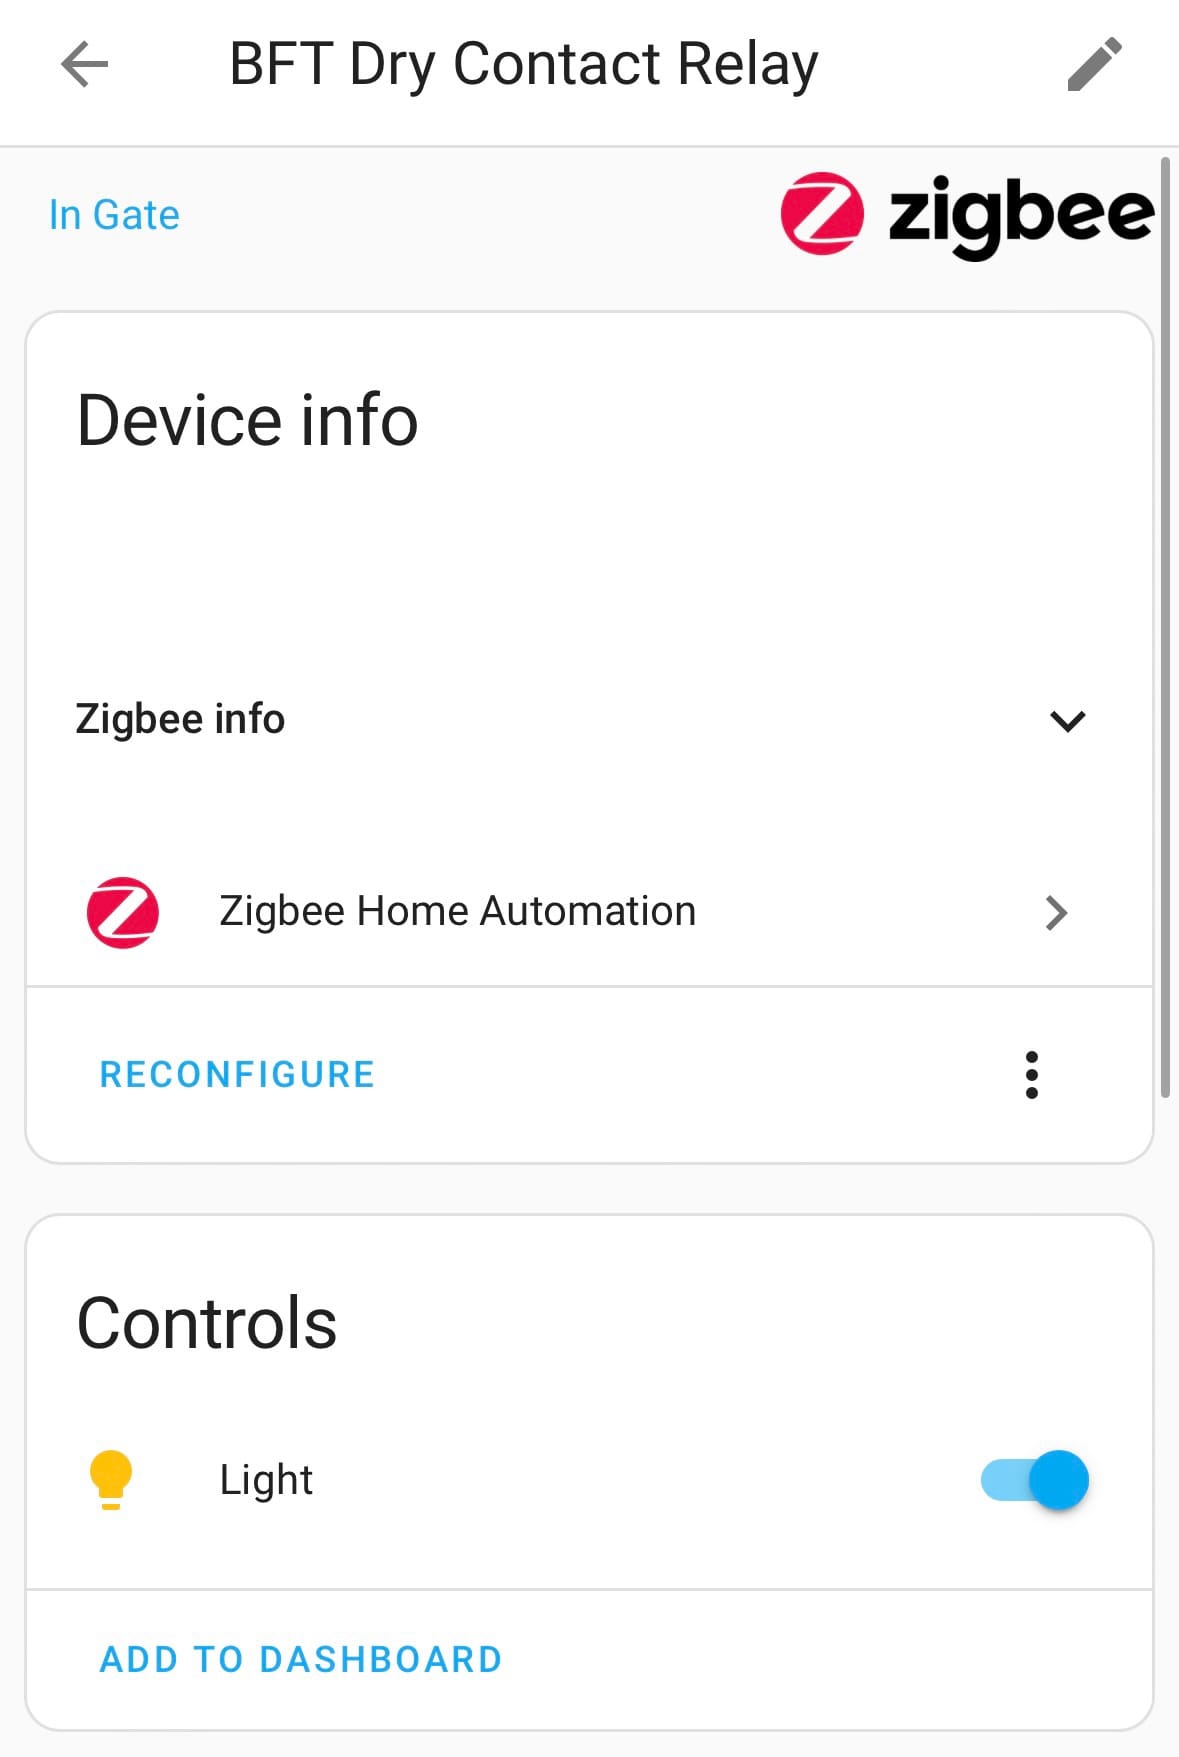
This is not an issue, though. We can treat it as a bulb, and all we have to do is turn on/off the bulb to open the gate door. We can also create a virtual device to turn on the bulb, wait a bit, and then turn it off. This is also called "inching," so we want to emulate a momentary button click.
Luckily, Home Assistant has something called a template, which can be used to create built-in virtual devices. One of these virtual devices is called the cover template. I don't want to complicate things further on, but below you can see that we have configured a virtual device that can be used to open/close/stop a cover:
cover:
  - platform: template
    covers:
      garage_door:
        device_class: garage
        friendly_name: "Gate Door"
        icon_template: >-
          {% if is_state('binary_sensor.gate_sensor_opening', 'on') %}
            mdi:gate-open
          {% elif is_state('binary_sensor.gate_sensor_opening', 'off') %}
            mdi:gate
          {% endif %}
        value_template: >-
          {% if is_state('binary_sensor.gate_sensor_opening', 'on') %}
            open
          {% elif is_state('binary_sensor.gate_sensor_opening', 'off') %}
            closed
          {% endif %}
        unique_id: garage_door_cover
        open_cover:
         - condition: state
           entity_id: binary_sensor.gate_sensor_opening
           state: "off"
         - service: light.turn_on
           target:
            entity_id: light.bft_dry_contact_relay_light
         - delay:
             milliseconds: 200
         - service: light.turn_off
           target:
             entity_id: light.bft_dry_contact_relay_light
        close_cover:
         - condition: state
           entity_id: binary_sensor.gate_sensor_opening
           state: "on"
         - service: light.turn_on
           target:
            entity_id: light.bft_dry_contact_relay_light
         - delay:
             milliseconds: 200
         - service: light.turn_off
           target:
             entity_id: light.bft_dry_contact_relay_light
The most important parts here are the open_cover and close_cover parts. Those hooks are called when you press the button on HA to open or close the gate. And as you see, we check first if the door is closed (off state or not), turn on the relay, wait 200 milliseconds, and then turn it off. This emulates a momentary click, like pressing the button of the RF remote.
You might ask, how do we detect whether the door is closed?
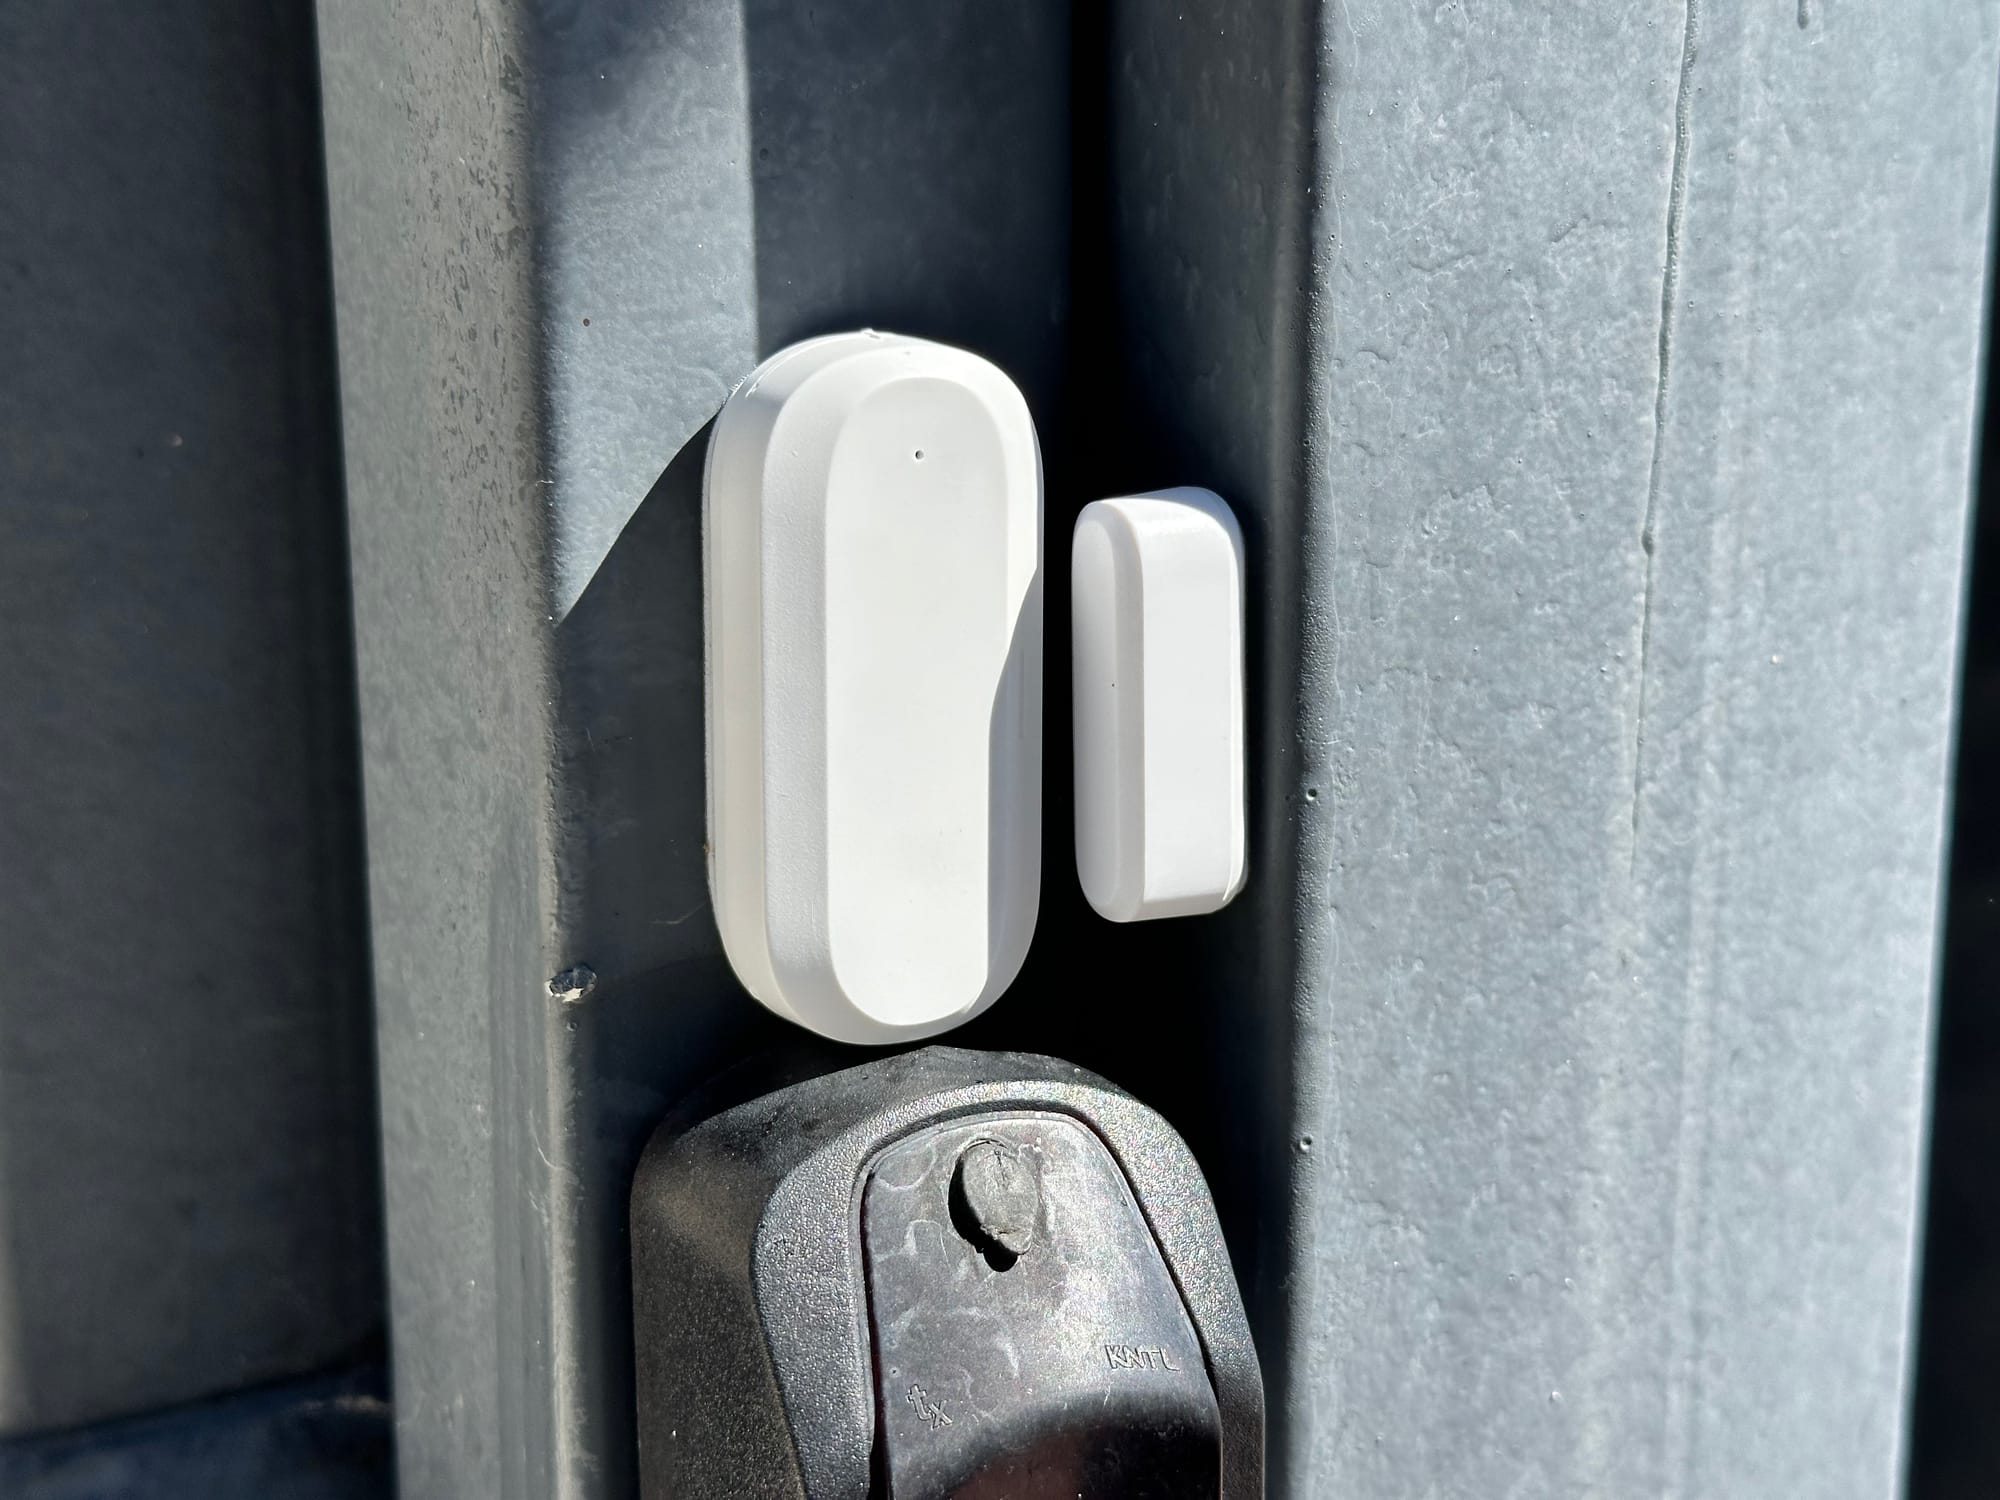
That part is done by the door sensor, which I've also installed. We don't need it, but it makes for a more stable integration, especially with HomeKit, as it can tell you when the door is closing or opening. Without the sensor, you can use something called the optimistic mode , which uses an internal state to track when you trigger the gate opening/closing. Anyway, I decided to use a door sensor; they are cheap and not that expensive.
Finally, I'm using the HomeKit integration, which exposes various parts of HomeAssistant as actionable entities in HomeKit. This means you can expose any non-homekit compatible device or a set of devices via HomeAssistant to HomeKit by using the HomeKit integration.
This is great because I can now use my iPhone to open/close the gate door remotely. Second, and the best part of this integration, is that because it's part of HomeKit, there is a dedicated button when CarPlay is used, and I can open/close the gate door when I approach home. It's fantastic!
From the iPhone, you can either use Siri to open/close the door or use the various widgets or Home app:
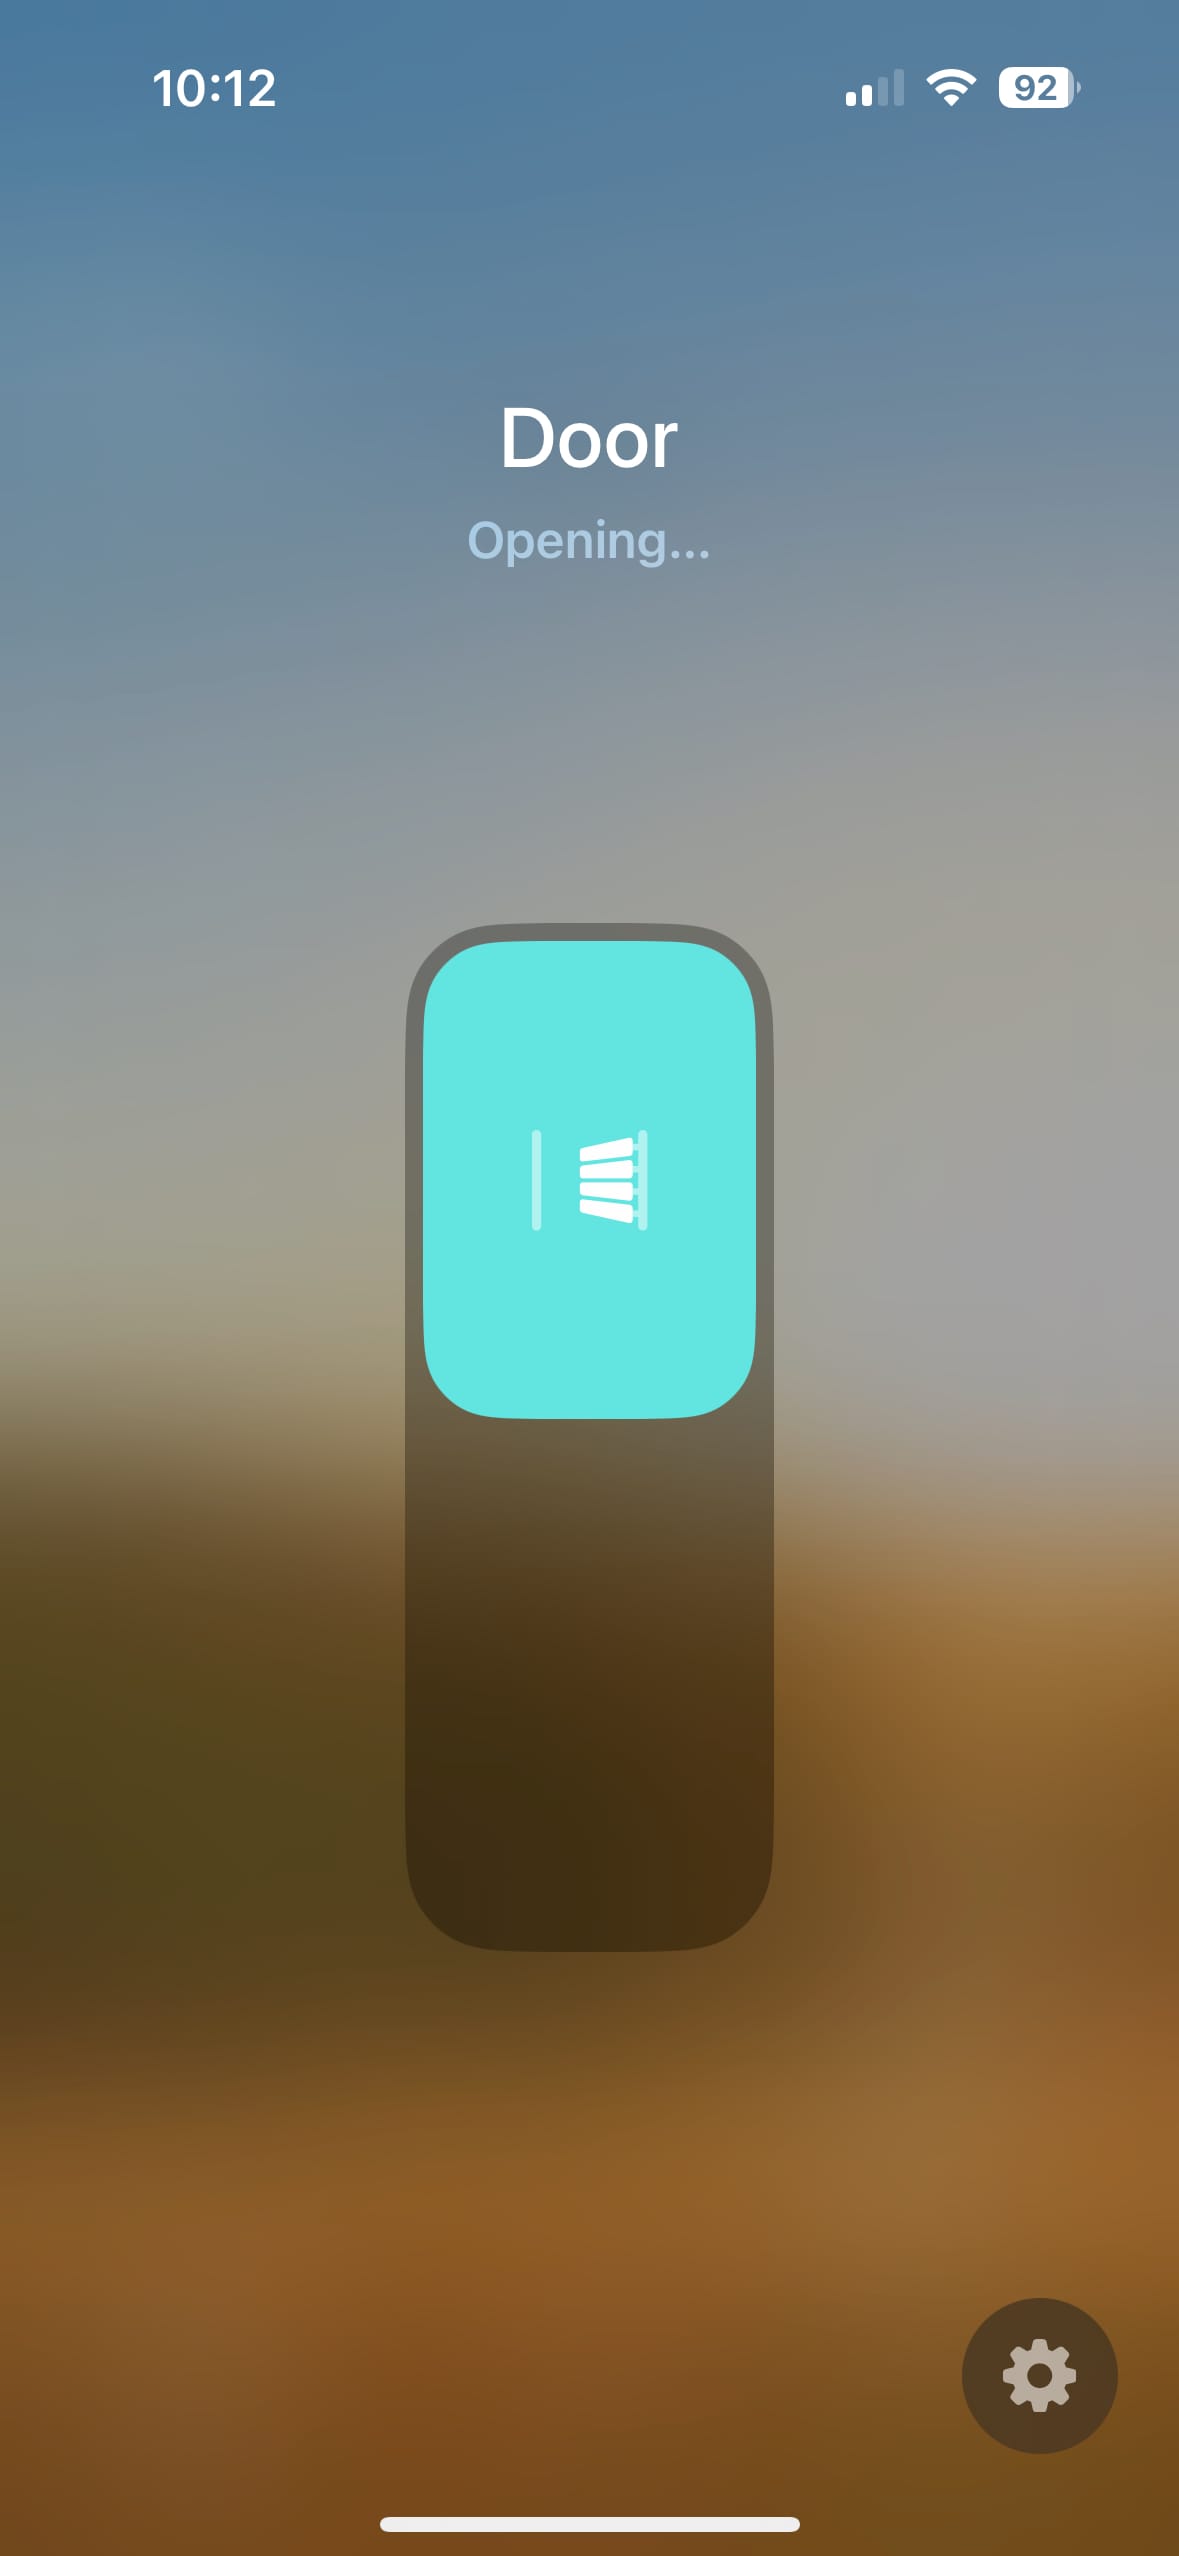
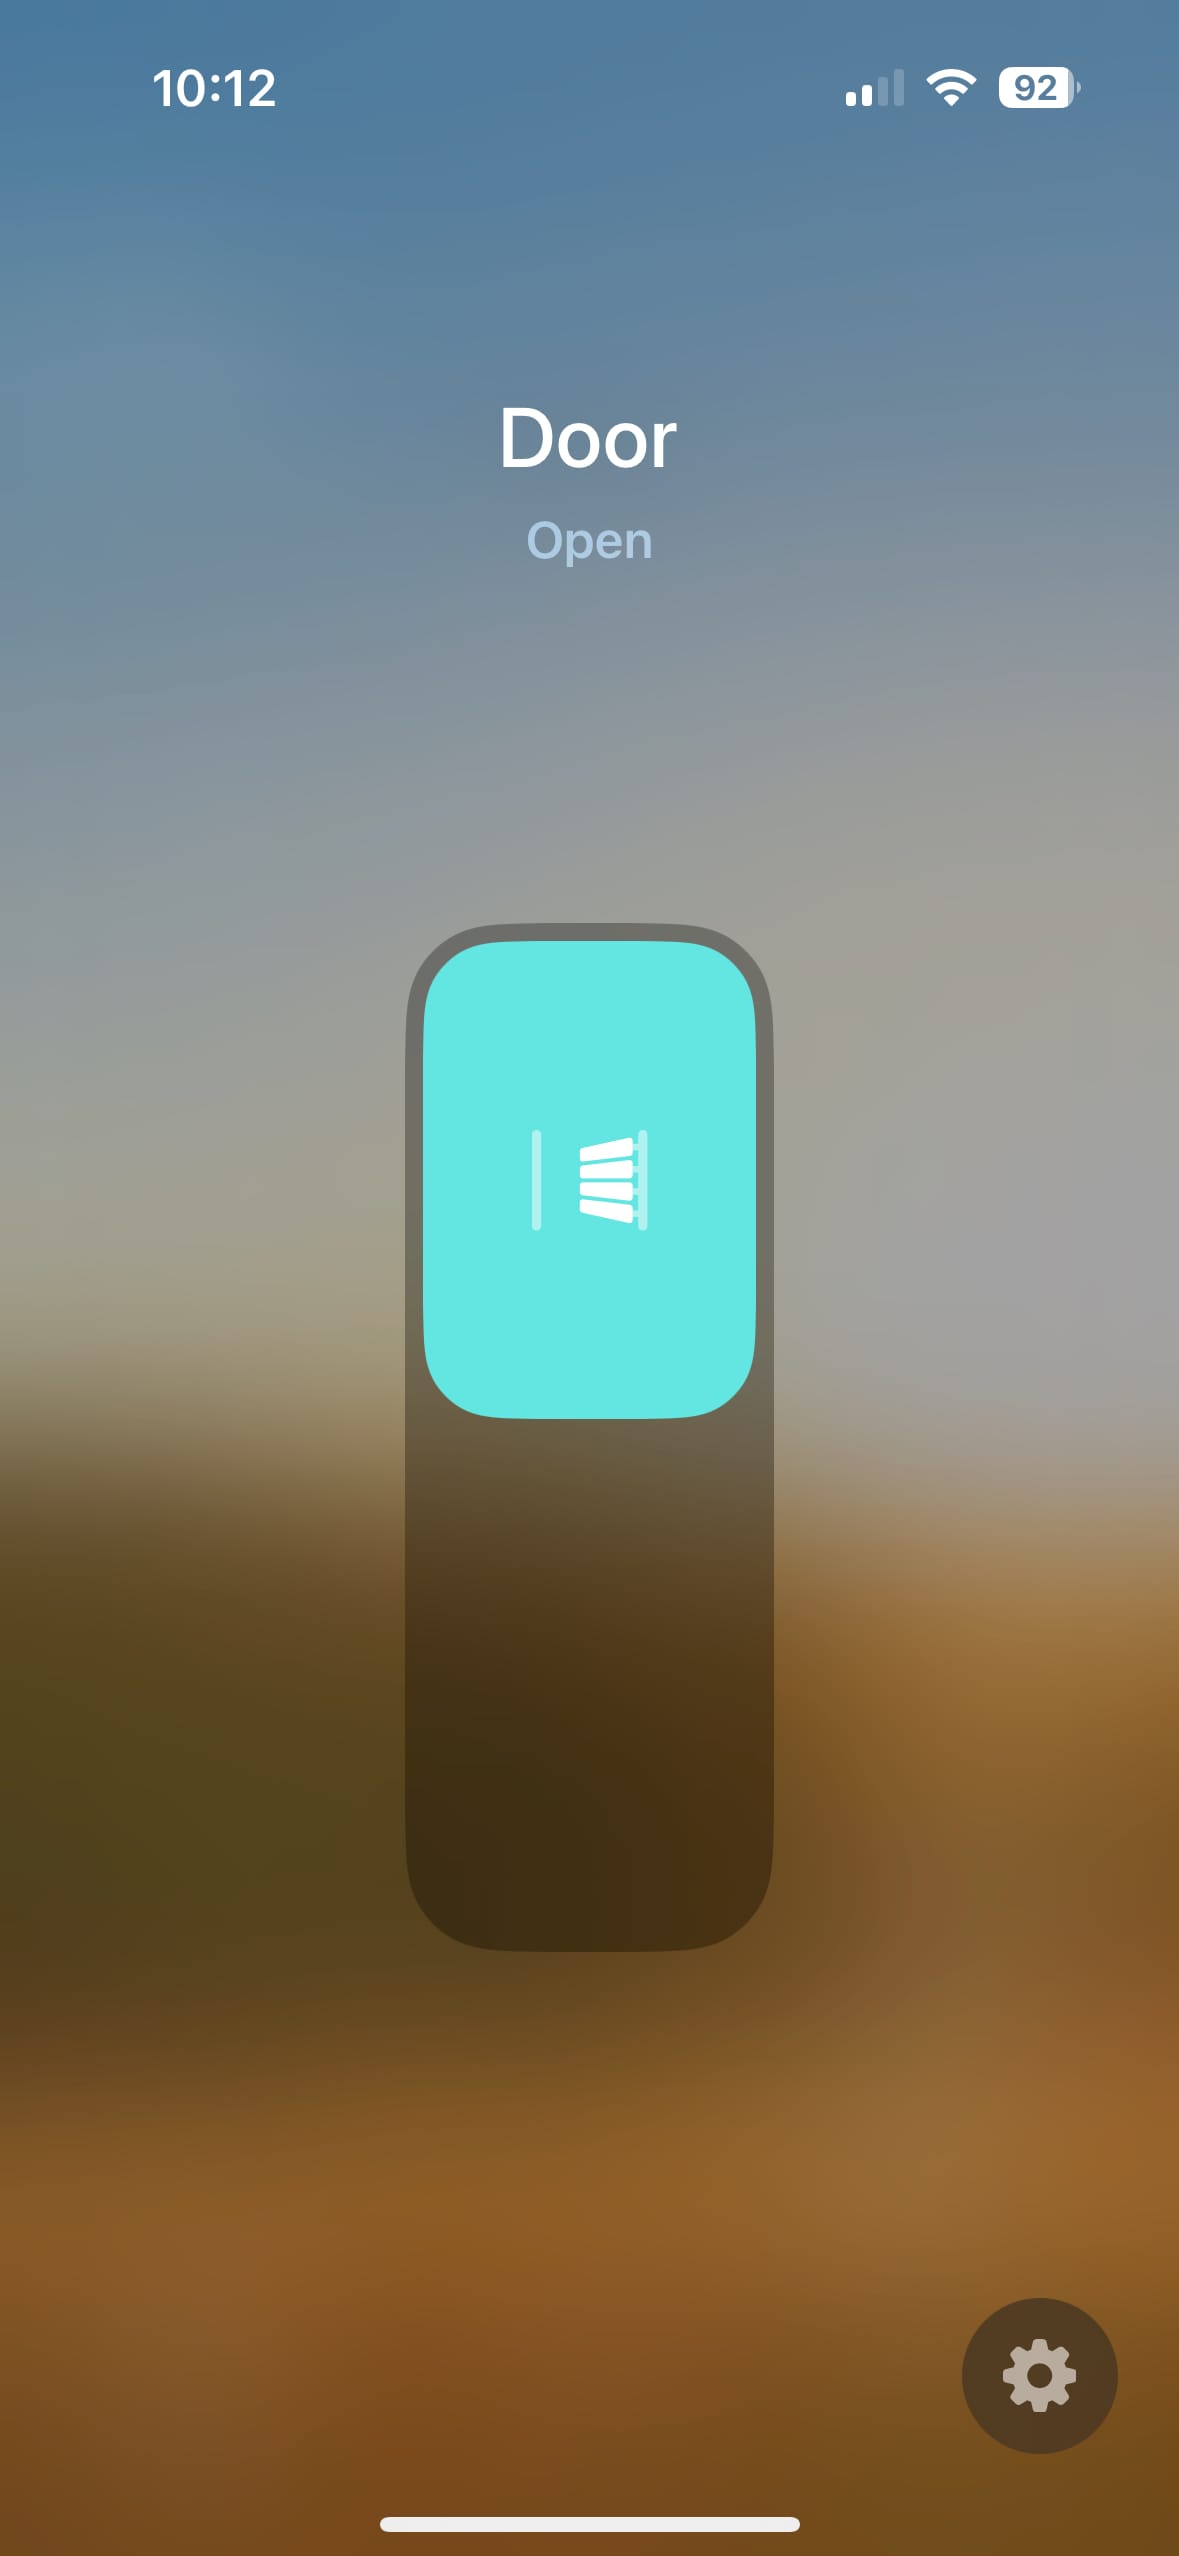
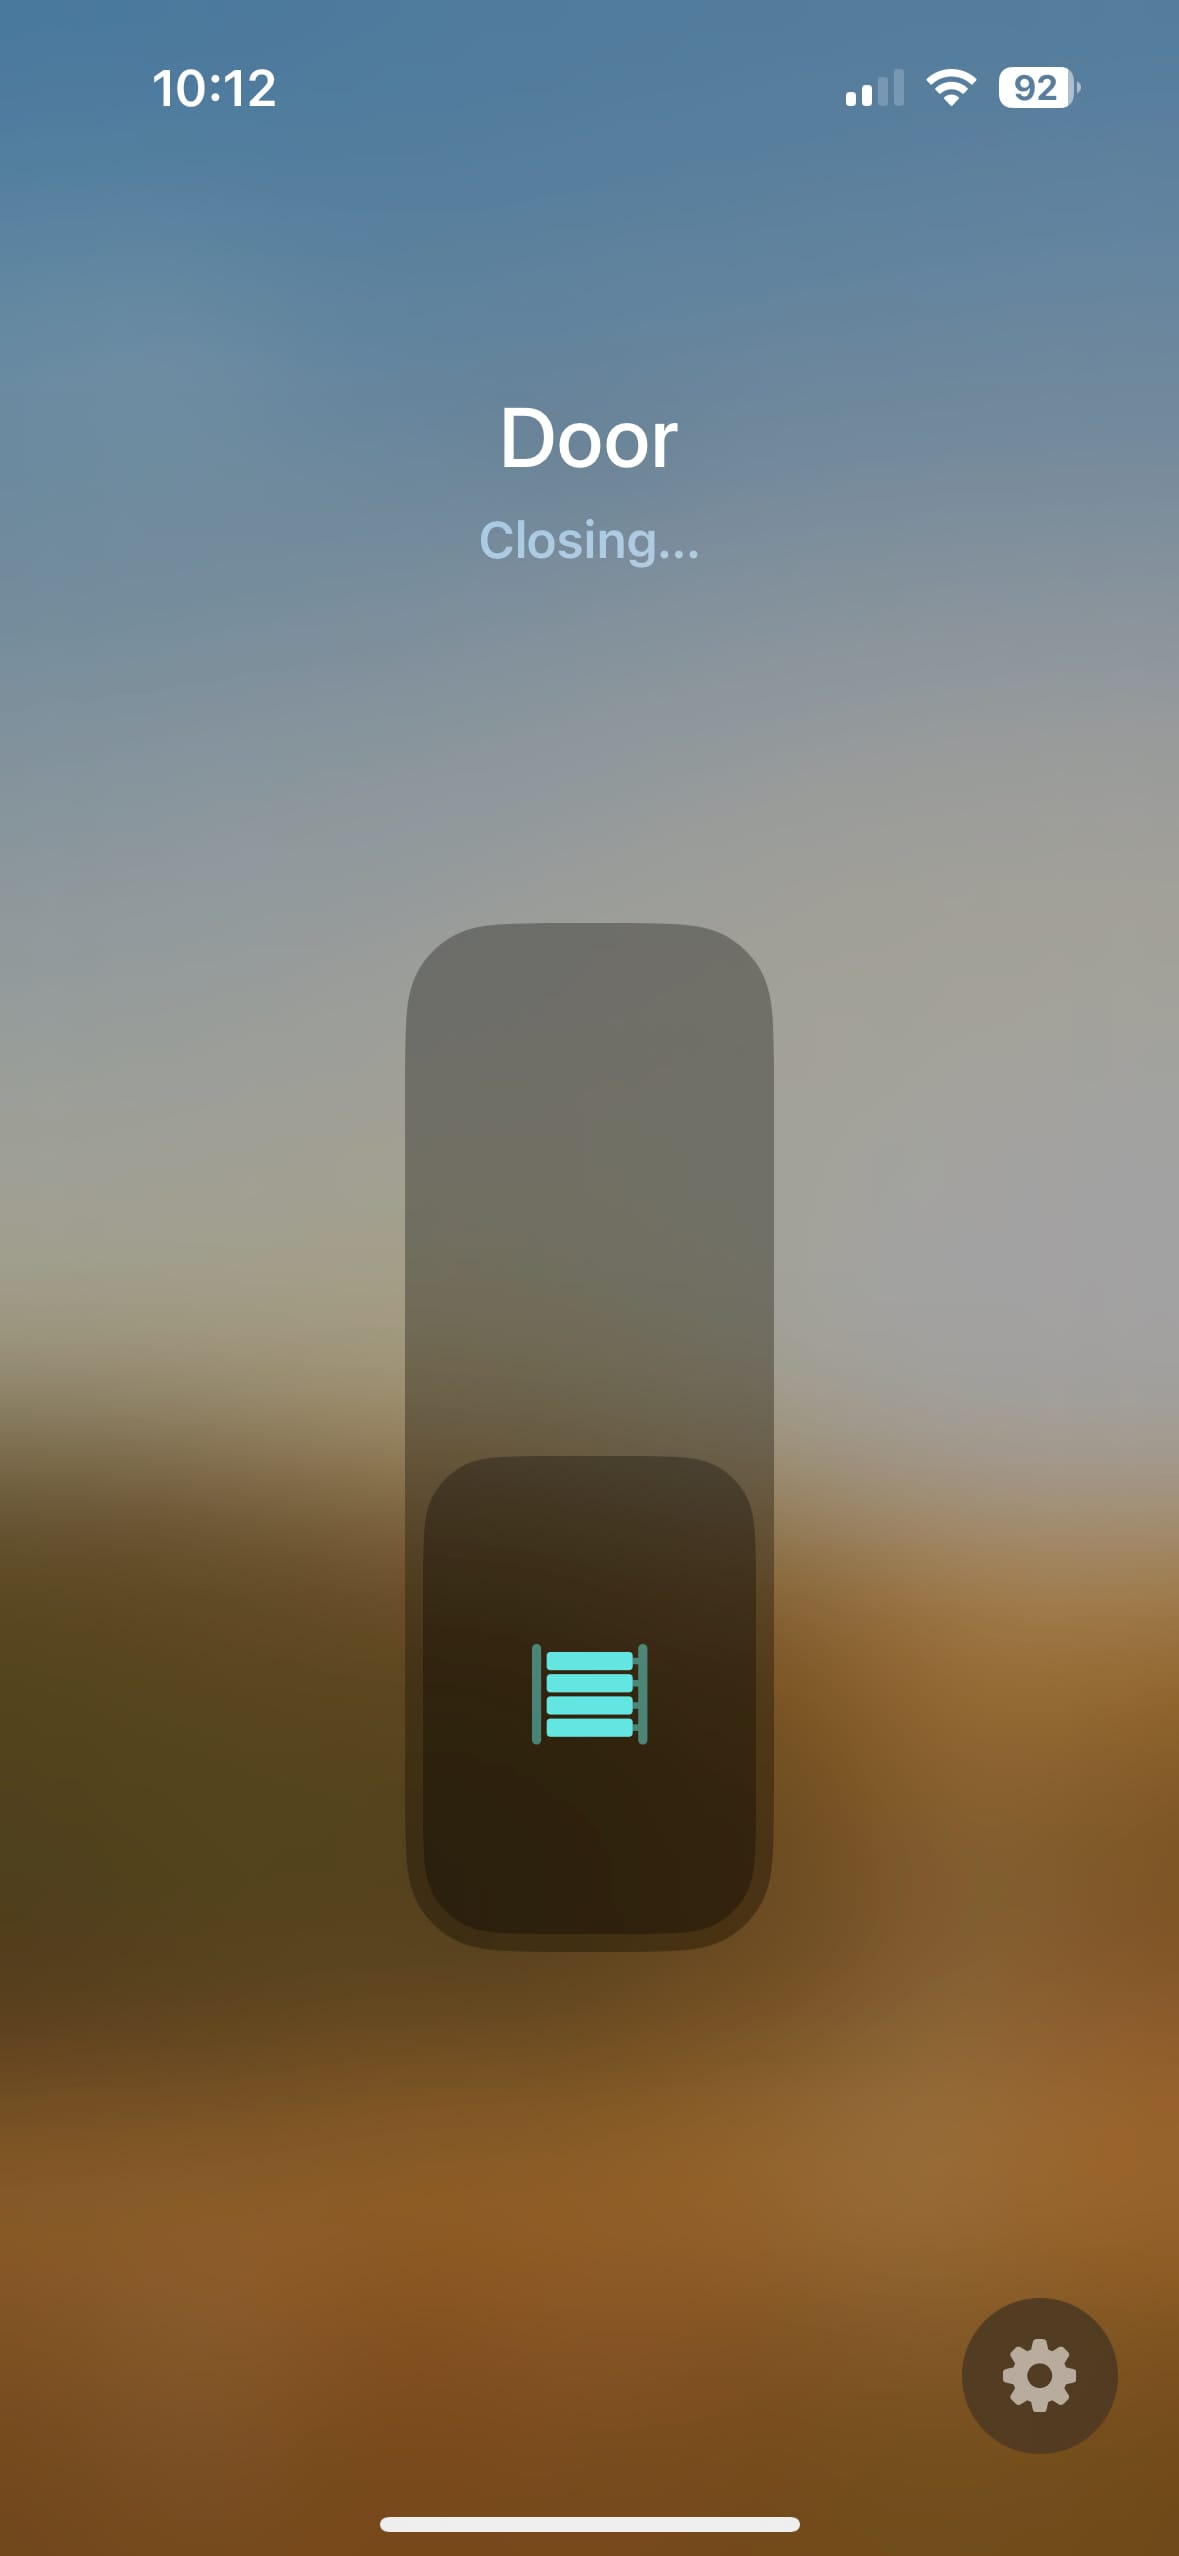
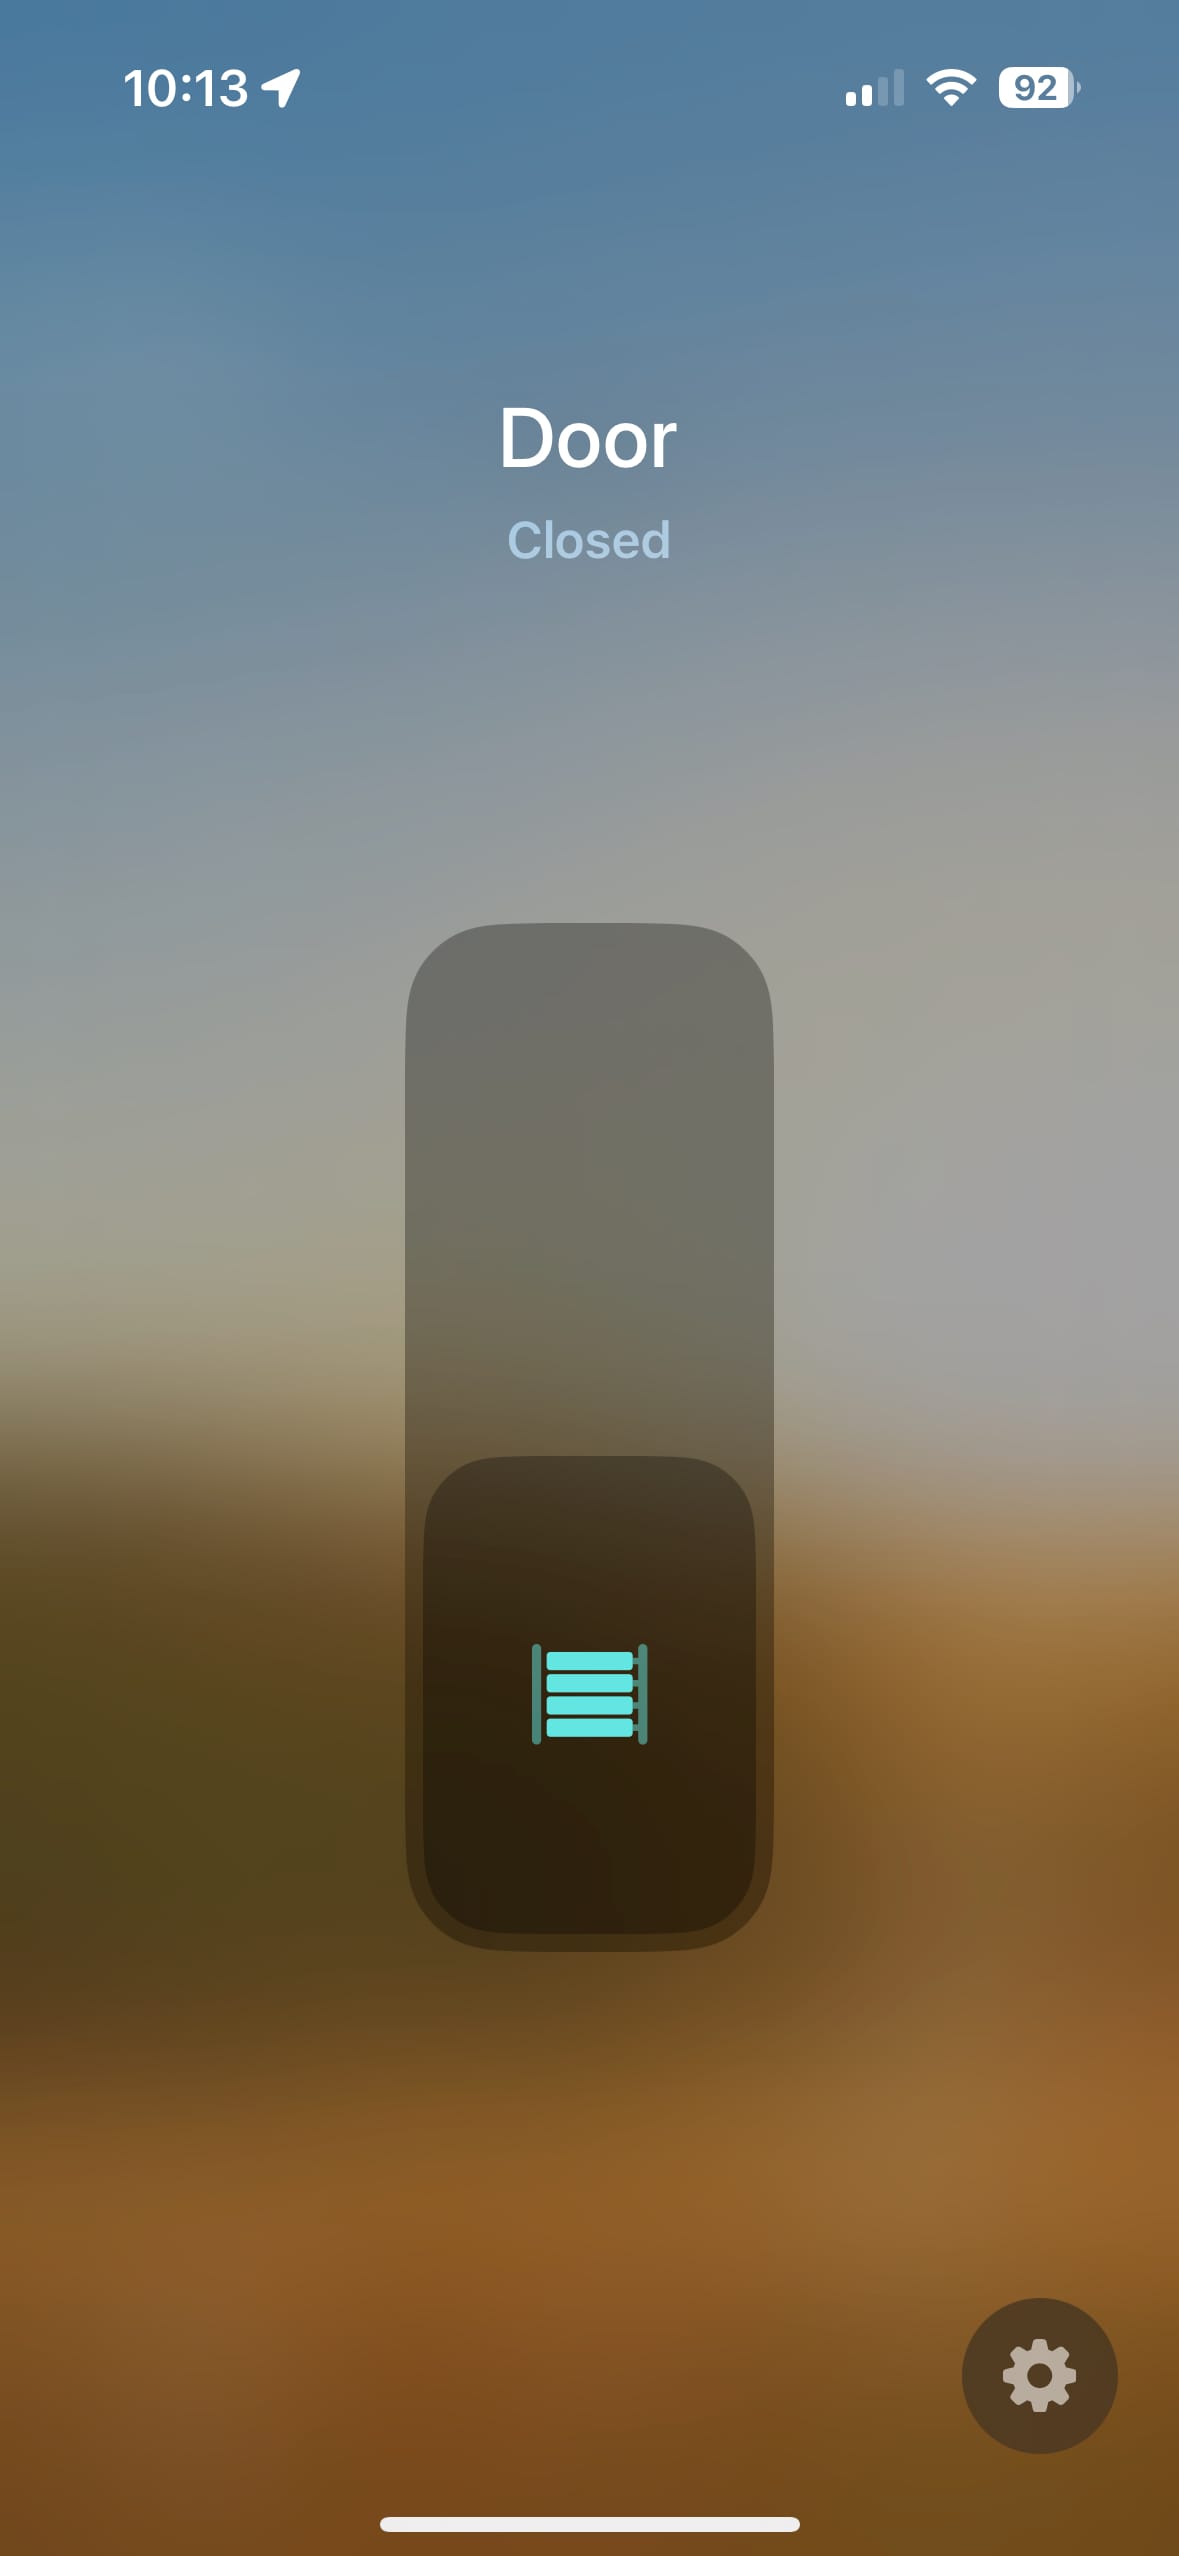
Here, you can see the four states from the iPhone Home app.
Of course, having it integrated into HomeKit enables other things as well. I can share it with my family members, use Siri to open it by saying, "Hey Siri, open the gate door," and automate it further, such as opening the gate door when I'm near home or making sure it's closed when I leave home.
Here is what it looks like from my car:
By exposing the virtual device as a Garage, the HomeKit integration also exposes a button on the CarPlay screen
Final thoughts
I'm pretty happy with how all this ended. This was something I wanted to do for a long time, but I wasn't sure where to begin. I hope this blog post gives you some ideas on automating motors or certain home appliances via relays.

Some random thoughts during the installation process:
- I had to cut various cables and had a chance to use my new Knipex cable stripper. It made things so much easier, and I loved every moment. I highly recommend it if you're stripping/cutting cables occasionally and want peace of mind.
- After setting up the Zigbee Relay, I discovered that latency was pretty bad. I'm currently using SkyConnect as a Zigbee Hub (via ZHA). I thought Zigbee would be better than WiFi because of less interference, but apparently, it has similar issues with WiFi. So next, I'll try to move my Zigbee Hub to my office and ensure the garage door is within sight of the hub.
- Adding a virtual device on HomeAssistant shouldn't be so archaic. I think the templating and scripting capabilities are very bad. However, despite all this, I'm astonished at what you can do with HA. It's a really good ecosystem, but it needs love and a lot of research. Even if you buy Home Assistant Green, not all things are just plug-and-play.